
Why Make Compostable Sandwich Wraps?
You cut waste. You save money. You make wraps that break down, not clog landfills. This guide shows six plain steps. You will end with wraps you can use, wash, and compost. They last for months with care and pride.
What You Need
You need:

Wrap Your Food in Sustainability with Our Compostable Cling Film
Pick and Prep the Right Fabric
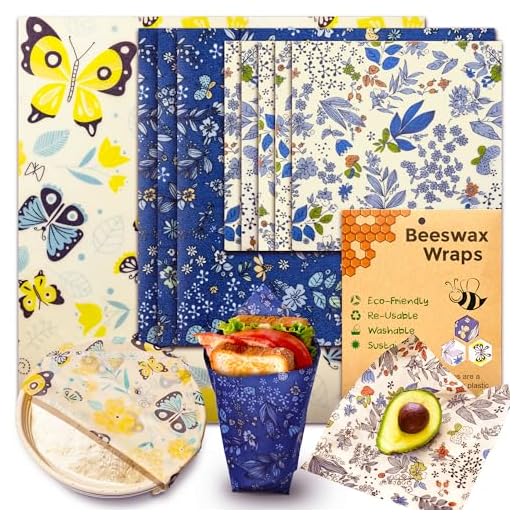
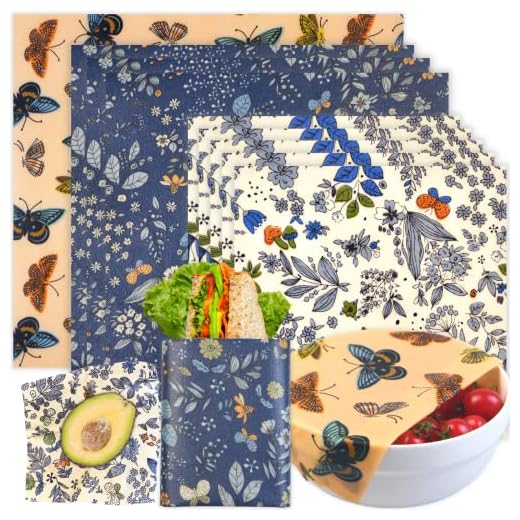
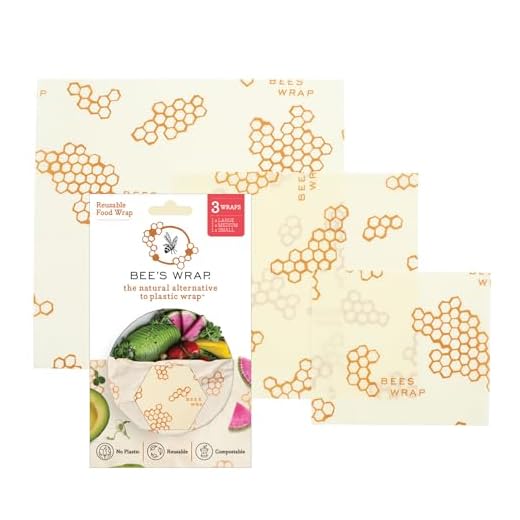
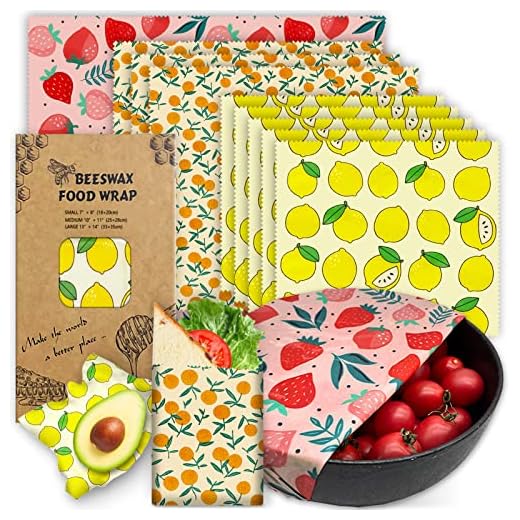
Natural cloth wins. Why buy plastic when cotton will do?Pick tight-weave cotton. Use unbleached cloth for color and safety. Choose quilting cotton, flour-sack towels, or old sheets that still feel firm.
Cut to the size you need. Make 12×12 inches for a sandwich. Make 16×18 inches for a large wrap. Use sharp scissors and square your edges.
Prewash the pieces. Wash in warm or hot water with a mild detergent. Skip fabric softener. This removes starch and lint. Dry the pieces flat on a towel or a rack. Smooth them while damp.
Trim loose threads. Snip frayed edges close. Inspect each square for holes or thin spots. Simple prep makes a strong wrap that lasts.
Choose and Melt Your Wax
Wax is the secret. Beeswax or soy — which will you trust?Break the wax into small pieces. Use a grater or chop a bar into chunks. Smaller bits melt fast.
Use a double boiler or set a glass jar in a pot of hot water. Heat slow. Do not scorch. Keep the water at a bare simmer.
Stir as it melts. Add a few spoonfuls of grated wax at a time. Keep heat gentle. Try beeswax pellets or grated bar wax for ease.
Quick tips:
Aim for a runny, clear mix.

Add Oil for Flex and Seal
A dash of oil stops cracks. Small trick. Big result.Measure oil with care.
Add 1–2 teaspoons per 1/2 cup of melted wax. Start at the low end.
Stir well until the mix looks glossy and even. Use a wooden or heatproof spoon. Keep the heat low.
Use food-safe, low-odor oils. Examples: jojoba oil, fractionated coconut oil, or sweet almond oil. Avoid strong scents and oils that go rancid fast.
Test one scrap first. If the cured wrap feels stiff, re-melt and add a tiny bit more oil (a 1/4 teaspoon at a time).
Apply the Wax to the Fabric
Brush it on. Thin and even beats clumps and drips.Lay parchment on a tray.
Place the cloth on top.
Brush the wax mix across the cloth in smooth, straight strokes.
Push the wax into the weave with the brush or a clean sponge. Aim for one even coat.
Flip the cloth and coat the other side if you see thin spots.
Use a hair dryer or short oven blast to reflow wax and even the finish. Heat until the wax pools and then smooth it out.
Keep strokes short and firm. For a 10×10 in wrap, try 6–8 strokes per side.
Cure, Trim, and Finish Edges
Let it set. Cut to fit. Small cuts make neat wraps.Let the wax cool and harden.
Hang by a peg or lay flat on parchment to cure.
Wait 10–30 minutes. Twenty minutes works for a 10×10 inch wrap.
Trim the edges with sharp scissors.
Cut close but leave about 2–3 mm for a hem.
Round the corners to stop wear.
Trace a coin and cut the curve to prevent fray.
Stitch a quick hem for strength.
Use a running stitch or a sewing machine. Or use a hot knife to seal blends.
Test a fold with your hands.
It should hold shape and soften with your warmth. Recoat if it cracks.
Use, Clean, and Store Your Wraps
Use like plastic, wash like cloth. Want less waste? Start here.Wrap sandwiches and snacks. Fold like an envelope. Press the edges. Warm the seam in your palms for 10–15 seconds to seal.
Wash with cool water and mild soap. Rinse well. Do not use hot water or scrub hard. Hot water melts the wax. Scrubbing wears the fabric.
Air dry flat. Lay the wrap on a towel or rack. Avoid tumblers and dryers.
Store folded in a drawer. Keep away from heat and sun. For a quick lunch, tuck a wrap under your lunchbox.
Make One. Make Many.
You made a tool. You cut waste. Keep your wraps. Rewax when needed. Teach a friend. Try it now. Share photos and tips. Small acts add up. Make more. Pass them on. Start today. Inspire others. Do it now please.


Question: what oils are actually safe/compostable? The guide mentions jojoba, coconut, olive — which one lasts longest and doesn’t go rancid? Also, does the oil affect the smell over time?
I used grapeseed oil and it was fine for months. But I live in a temperate place — YMMV.
Great question. Jojoba is technically a wax ester and is very stable (doesn’t go rancid), so it’s a popular choice. Coconut oil is okay but can become firm in cold temps; olive oil can oxidize over time. For longevity and minimal odor, jojoba or a small amount of fractionated coconut oil tend to be best.
If you want to avoid any risk of scent, keeping oil low (just enough for flexibility) helps. You can always refresh with more wax rather than oil when needed.
Thanks everyone — jojoba it is for my next batch. Saving this thread 👍
I used a little sunflower oil once and noticed a faint smell after a month. Switched to jojoba and no more funky scents.
Short and sweet: made 10 in an afternoon. Gifted some to friends. Everyone loved them. ❤️
Okay long post incoming (I keep messing with recipes so this might help someone):
1) I started with quilting cotton — nice print, holds wax well.
2) I used a 70/30 beeswax to jojoba oil ratio — much softer, folds nicely.
3) Brushed on with a foam brush and then ironed between parchment paper to spread the wax.
4) Clean-up: cold water and mild soap, no scrubbing needed usually.
One thing — these wrap a sandwich fine but won’t replace a Tupperware for wet foods. Still 10/10 for snacks and sandwiches 😊
Ironing between parchment is pure genius. My husband thought I was weird but the food stays put.
Do you wash them right away after use? Curious if the wax leaches out over many washes.
Thanks for the detailed rundown, Ava — the jojoba addition makes sense for flexibility. Good point about wet foods; the barrier isn’t 100% waterproof.
I rinse quickly and pat dry. After ~6-8 uses they need a refresh coat but still totally usable.
Tried melting soy wax on the stove and it kind of seized up on me — crumbly instead of smooth. Any idea what I did wrong?
Also check the wax type — some soy blends have additives. Pure beeswax is more forgiving but a bit stiffer.
Soy wax can be tricky at too-high temps. Melt it gently in a double boiler and stir slowly. If it cools too fast it can grain — keep it warm and stir while brushing onto fabric.
Played around with different fabrics — muslin is cheap but kinda flimsy, denim takes more wax but lasts forever. If you want sturdiness go heavier fabric and add a bit more wax/oil. Also, trimming edges neatly makes them look pro, even if u used old shirts lol.
I tried denim and it did feel durable but was stiff at first — needed more oil to soften. Worth it tho.
Pinking shears are an excellent suggestion — reduces fraying without extra seams.
Yep a little jojoba fixes the stiffness. Also, use pinking shears if you’re worried about fray.
Good tradeoffs noted: lighter fabrics = less wax but less durability, heavier fabrics = more wax but longer life. Trimming does give a nicer finish.
Love this guide! I made my first wrap last weekend using an old cotton tea towel and beeswax. Turned out way better than I expected — flexible and holds a sandwich fine.
Tip: I used a hairdryer to help the wax soak in evenly after brushing and it saved time. Will definitely make more for packed lunches.
So glad it worked out, Emily! The hairdryer trick is a great time-saver — gentle heat helps the wax penetrate without overheating. Thanks for sharing!
I air-dried on a rack for a couple hours then hung them overnight. No oven needed for me 👍
Ooh hairdryer hack — doing that next time. Did you air-dry after or put it in the oven to cure?
Does anyone know if these wraps can be sent to municipal compost? The guide says compostable but regulations vary. I don’t want to contaminate my bin.
Good to know — thanks. I’ll compost at home and avoid dropping them in the curb bin.
Great point, Daniel. Most home-made wraps (cotton + beeswax + jojoba) are home-compostable in theory, but local compost facilities often reject waxed fabrics because of contamination concerns. Best practice: check with your local composting service. Otherwise, cut into small pieces and add to a home compost pile where heat and microbes can break them down over time.
I checked with my city’s composting program and they said ‘no’ to waxed fabrics. They prefer plain natural textiles only.
Okay, honest feedback: I love the concept and the steps are good, but I wish there was more on long-term durability testing.
I used wraps for 2 months and had to recoat halfway. Maybe include a small table of expected lifespan by fabric/wax/oil combo? That would be super useful. Otherwise great beginner guide!
Thanks for the constructive feedback, Maya. Good idea — we’ll work on adding a durability reference based on fabric/wax/oil combos in a future update. Appreciate the suggestion!
Experiment report: tried beeswax only, beeswax + coconut oil, and beeswax + jojoba. Results:
– Beeswax only: firm, holds shape, best for wraps around cheese.
– Beeswax + coconut: softer at room temp, but got brittle in cold weather.
– Beeswax + jojoba: most flexible and durable.
Also learned: brush thin layers and build up rather than slathering wax — more even finish and less waste.
Thanks for the breakdown — super useful. Did you notice any scent changes with the jojoba mix?
Fantastic comparison, Ethan. Very helpful for readers deciding on ratios and use-cases.
Cleaning tip: I keep a small dish of cold water near the prep area and wipe excess wax from the brush right away — otherwise it turns into a waxy mess in the sink. Also, don’t tumble dry the wraps!
Oof that’s rough. I hang-dry on a line indoors and they keep shape perfectly.
Nice tip, Olivia. Cold water and a quick scrape are lifesavers. And yes, no high heat in the dryer — it can melt the wax coating.
Seconding the no-dryer rule — I accidentally put one in the dryer once and it got warped.
Not sure it’s worth the fuss for me. Buying reusable silicone bags is easier. But quality guide — concise steps and clear.
Made one for my kid and he declared it “magic napkins”. 😂 Seriously though, the kids love helping brush the wax — total weekend craft.
That’s awesome, Noah. Involving kids is a great way to teach about waste reduction. Just supervise the hot wax step closely!
Lol my kid calls them ‘fancy napkins’ and refuses to use plastic bags now. Win.