
Welcome to Pressure Canning
Pressure canning is a powerful way to preserve your food. It keeps your homegrown fruits and vegetables fresh for months. You can enjoy the taste of summer even in the dead of winter. With the right tools and knowledge, you can master this skill.
In this article, you will learn the basics of pressure canning. First, we will explore what it is and why it matters. Then, we will help you choose the right equipment. Safety is key. We will guide you on how to prepare your ingredients and walk you through the canning process step-by-step. Finally, we will troubleshoot common issues to keep you on track.
Get ready to dive in! Your journey into the world of pressure canning starts now. Let’s get preserving.

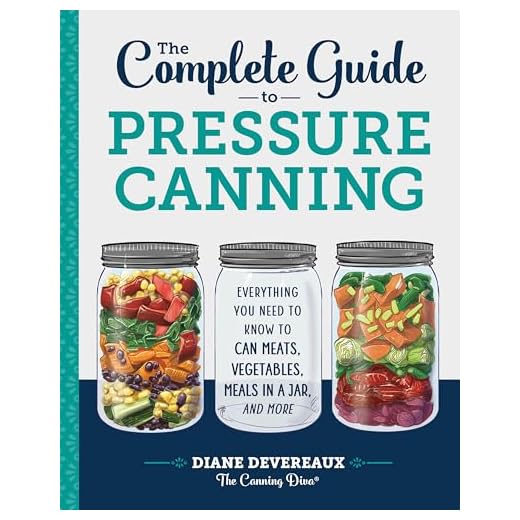

Master the Art of Canning: A Beginner’s Guide to Preserving Freshness
Understanding Pressure Canning
Pressure canning is a method that uses steam and pressure to preserve low-acid foods. This technique is essential because high temperatures eliminate bacteria and pathogens that can spoil food. Unlike water bath canning, which is best for high-acid foods like fruits and pickles, pressure canning reaches temperatures over 240°F (116°C). This is crucial for safely preserving vegetables, meats, and soups.
Why Pressure Canning?
Key Components of Pressure Canning
Practical Example
Imagine you’ve grown a bounty of tomatoes in your garden. Instead of letting them rot, you can pressure can them into rich marinara sauce. Just think—each time you unseal a jar, you are tasting summer.
Now that you understand the essentials, let’s look at how to choose the right pressure canner for your needs.
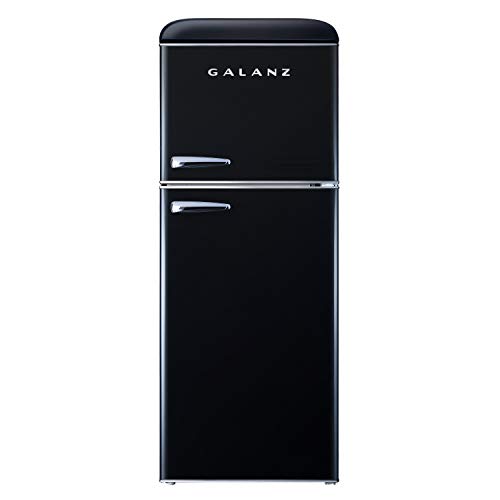
Choosing Your Pressure Canner
When it comes to pressure canning, selecting the right canner is crucial. A good canner makes the difference between a successful batch and a disastrous one. You have two main options: the traditional stovetop canner and the newer electric models.
Stovetop vs. Electric
Consider Your Needs
Real-World Example
Suppose you have a summer pepper harvest. If you opt for a stovetop canner, you might get a larger batch done faster. But if you’re a novice and prefer a quick learning curve, an electric model might make your experience more enjoyable.
Ultimately, the right choice depends on your canning goals, budget, and kitchen space. Now, with your canner selected, let’s dive into safety. It’s time to ensure you’re prepared for a successful canning experience.
Getting Started: Safety First
Pressure canning can be a rewarding experience, but safety must always come first. This process involves high heat and pressure, meaning that small mistakes can lead to serious consequences. To ensure your canning adventure is both safe and successful, follow these essential safety measures.
Equipment Checks
Before you start, inspect your canner. Look for the following:
Make these checks a habit. A little diligence goes a long way.
Safety Precautions
When pressure canning, these precautions should guide you:
Now that you’ve grounded yourself in safety, you’re ready to prepare your ingredients. The next steps will set you up for a rewarding canning experience!
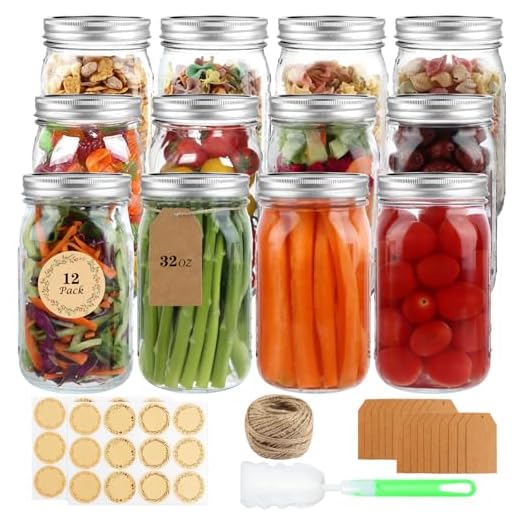
Preparing Your Ingredients
Getting your ingredients ready is a crucial step in pressure canning. A little prep goes a long way in ensuring your jars are filled with quality produce and flavors.
Washing and Sorting
Start with fresh fruits, vegetables, or meats. The quality will impact your final product. Here’s how to start:
Cutting and Packing
Next, prepare your ingredients for canning.

Liquid Matters
Don’t forget the liquids. Use a suitable medium based on what you’re canning:
Your meats and produce are prepped and ready. This careful preparation is only a step away from the canning process itself, where all your hard work will come to fruition.
The Canning Process
Now that you have your ingredients prepared, it’s time to take the plunge into the actual canning process. This is where your careful planning pays off. Follow these clear steps to ensure your success.
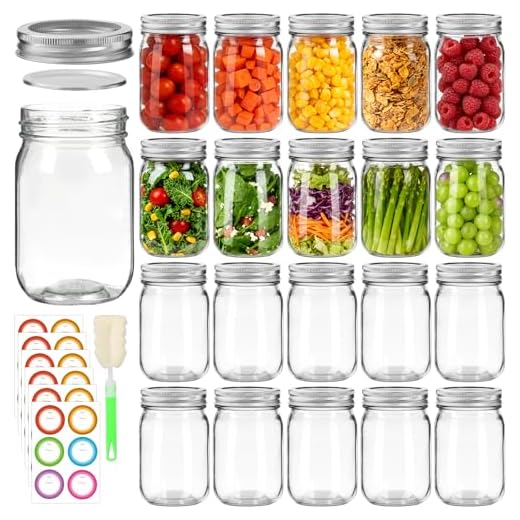
Filling the Jars
- Sterilize Your Jars: Before you start, your jars need to be hot. Place them in simmering water for about 10 minutes. This prevents breakage when you fill them with hot food.
- Fill the Jars: Using a ladle, carefully fill each jar with your prepared ingredients. Ensure you leave the right amount of headspace—usually about one inch. This space is essential for the heat to circulate while sealing.
- Remove Air Bubbles: Take a non-metallic spatula and slide it around the inside of the jar to release any trapped air bubbles. This step will help avoid spoilage.
Sealing the Jars
- Wipe the Rims: Clean the rim of each jar with a clean cloth or paper towel. This ensures a good seal without residue interfering.
- Apply the Lids: Place your canning lids on top of the jars. Ensure they are centered and do not touch the edges of the jar. Follow manufacturer guidelines on how tightly to screw on the metal bands—typically just finger-tight.
Loading the Canner
- Add Water: Fill your pressure canner with about 2-3 inches of water. Too little water can scorch your jars; too much can create excessive steam.
- Arrange the Jars: Place your filled jars on the rack inside the canner. Keep them upright and spaced evenly.
- Seal the Lid: Close the canner lid securely. For stovetop models, lock it according to the manufacturer’s instructions; for electric canners, follow the setup prompts.
Increase the Pressure
- Heat: Turn on your heat to high. Watch the pressure gauge. Once steam begins to escape, allow it to vent for about 10 minutes.
- Set to Pressure: After venting, place the weight on the vent port or set your electric canner to the required pressure—usually 10-15 pounds depending on your recipe and altitude.
- Start Timing: Once the recommended pressure is reached, reduce heat to maintain that level and start your timing according to the recipe you’re following.
With your jars sealed and the pressure maintained, you’re on the cusp of a rewarding finish. But what if you encounter issues along the way? Don’t worry—let’s tackle some common troubleshooting next.
Troubleshooting Common Issues
Even seasoned canners face hurdles sometimes. By knowing the common problems, you can act quickly and avoid losing precious ingredients.
Jars Don’t Seal
One of the most discouraging experiences is finding that your jars didn’t seal. Here’s how to address that:
Jar Breakage
Glass breakage is dangerous. Here’s how to prevent it:
Cloudy Liquid
Sometimes you’ll notice cloudy liquid in your jars after canning. This can be disheartening. Here’s what you can do:
Bits of Food Floating
Floating food can be annoying. To minimize this, consider:
With these tips in your back pocket, you can tackle challenges as they come. The joy of canning lies in persevering, learning, and savoring the delicious rewards.
Now that you’re armed with troubleshooting knowledge, it’s time to reflect on your canning adventure. Your journey with pressure canning awaits at the conclusion of this guide!
Your Journey with Pressure Canning
Now that you’ve learned the essentials of pressure canning, you’re ready to embark on this rewarding journey. Preserving your food allows you to savor the harvest year-round. Each jar you fill is a testament to your effort and care.
Take pride in your craft. Dive in with confidence. Experiment with flavors and share your creations with loved ones. Remember, the joy of canning lies not only in the final product but in the process itself. So, gather your ingredients and start canning. You’ve got this!


Great article but can we talk about how overwhelming it is to choose the right pressure canner? 😅 I’m stuck between the Presto and the Supa Ant. Any recommendations?
Totally agree! I think it depends on how tech-savvy you are. Presto is more straightforward.
Both are excellent! The Presto is a classic, but the Supa Ant has some newer features that might be appealing.
I’d lean towards the Presto for reliability! But if you like gadgets, go for the Supa Ant!
Anyone else think pressure canning looks like a science experiment? I mean, all the steam and pressure—what if it blows up?! 😂 Just kidding, but safety first, right?
Haha, it can feel like that at first! Just remember to follow the safety guidelines, and you’ll be fine!
I feel you! I watched my sister can once and was just waiting for something crazy to happen. All good though!
I know, right? I kept thinking it would explode the first time I used mine! But it’s surprisingly safe when done right.
I just got my Presto 23 Qt Pressure Canner, and I’m so excited to try this out! 🥳 I’ve watched a ton of videos, but reading this article really helped clear up some of my questions about safety and the whole process. What’s everyone’s favorite thing to can? I’m thinking of starting with tomato sauce! 🍅
Tomato sauce sounds delicious! I usually go for pickles. They’re super easy and fun to make. Just watch out for the vinegar fumes! 😂
I love canning peaches! They’re so sweet and yummy for winter. Just a heads up, the first batch might be a little tricky, but it gets easier! 🌟
Great choice, Emily! Tomato sauce is a classic. Make sure to check the acidity if you’re canning tomatoes.
This article was super informative! I had no idea there were electric pressure canners like the 12 Qt Electric Digital Pressure Canner. Is it worth the investment? I’m still on the fence about it!
The electric ones are a great option for beginners—much easier to control! It really depends on your canning needs.
Thanks for the feedback, Sarah! I’ll probably give it a try then.
I bought the electric one last year, and it’s been a game changer! If you’re doing a lot of canning, totally worth it.
I had a disaster with my last canning attempt — jars didn’t seal properly. 😩 This article’s troubleshooting section is a lifesaver! I wish I had read it before. Any tips for beginners?
Definitely check the rims of your jars before sealing! Any food residue can prevent a proper seal.
Make sure you’re following the right pressure for your altitude too! That was a big learning curve for me.
I just picked up some HWASHIN Mason Jars! I found them on sale, and I’m ready to get started! This article was so helpful for figuring out what I need. What do you all think about the Supa Ant 23 Qt Pressure Canner Kit? Is it good?
The Supa Ant kit is a solid choice, especially for beginners! It comes with everything you need to start.
I’ve heard good things about it! Just check the reviews for any quirks.