
Welcome to Your Alabama Harvest
You will find fruit and light. Nearly 90% of visitors say fresh-picked berries beat store fruit. You will walk rows. You will feel sun and soil.
This guide helps you plan. Go to Penton Farms for strawberries. Visit the Alabama pumpkin patch for pumpkins and fall fun. Learn when to pick and how weather shapes the season.
You will learn how to pick good fruit. You will learn how to store and cook it. Quick preserves and simple recipes will keep your harvest bright. Use these steps. Keep your trip easy. Bring home more than fruit.
Read on and you will find clear steps, maps, tips, and a few community ideas to share right now.


Family Fun at Penton Farms Pumpkin Patch near Verbena, Alabama
Plan Your Visit: Where to Go and What to Expect
Find it on a map
Pin Penton Farms. Pin the Alabama pumpkin patch nearby. Use Google Maps or Waze. Call the farm if the pin looks wrong. Farms change roads and gates. A quick call saves a wrong turn and a lost hour.
Tickets, hours, and rules
Check hours on the farm web page or Facebook. Ask about u-pick windows. Some farms sell timed tickets on Eventbrite. Ask these questions when you call:
Many farms have curbside pickup, too. Some close fields while they spray. If you hear spraying, wait or move to the stand.
What to bring
Pack for mud and sun. Bring tools and containers that work in the field.
Bring a larger cooler for berries and cut pumpkins. A soft cooler keeps berries cool in the car. Bring cash. Some farms are card-only at the gate. Bring sunscreen and wet wipes.
On the farm: what to expect
Expect dirt, farm smells, and fresh air. Expect friendly people and clear rules. There will be parking and basic bathrooms, but not always at the field. Follow signs. Park where staff tell you. Keep kids in sight. If a field looks thin, ask staff where the best rows are.
Fees, ages, and timing
Typical fees: per-pound for strawberries; per-patch or per-pumpkin for pumpkins. Some farms charge a small admission on weekends. Many farms ask adults to supervise young kids. Aim to arrive early. The fruit is cooler. The lines are shorter.
If rain looms, set a backup day. The best pick is usually the next dry morning.
Next up: learn when the berries peak and how Alabama weather shapes the season.
Time Your Trip: What’s in Season and How Weather Shapes It
Season windows you can plan around
You want ripe fruit. Know the rough calendar. In much of Alabama, strawberries hit their stride from late February through April. Pumpkins come later. You will find ripe pumpkins from late September into October. These are windows, not dates. Years change.
How weather moves the calendar
Heat speeds plants. Cold stalls them. Rain wets fields and can split fruit. A warm March will pull strawberries forward by a week or two. A late frost will set flowers back and delay harvest. A hot July can push pumpkin vines to finish sooner. Ask the farmer how recent weeks looked. They live by the weather.
Check local sources before you go: NOAA forecasts, the Alabama Extension alerts, or apps like AccuWeather and Weather Underground. A quick call to the farm tells you what the forecast did to their rows.
Signs the crop is ready
Look for clear, simple signs in the field. They tell you more than calendar dates.
If frost hit last week, expect smaller yields and later ripening. If heat stayed strong, pick early in the morning to keep berries cool.
Practical steps for timing your trip
Make a plan that fits the weather.
Real example: a March with three nights below 32°F delayed a local Penton patch by ten days. A June heat wave pushed pumpkins to orange weeks earlier the next fall. Small shifts like these are common.
Next, learn how to pick strawberries at Penton Farms so you bring home the best berries.
Pick Strawberries at Penton Farms: Simple Tips for Best Berries
How to tell a ripe berry
Look for deep, even red. No white tips. No green shoulders. Lift the berry. It should come off with a light pull. If you tug hard, it is not ready. Leave the green top on the plant. That lets the next fruit finish.
How to pick
Pick only ripe berries. Use your thumb and forefinger. Lift and twist gently. Place the berry stem-side up in your picker. Taste one or two as you go. Wash your hands first. If a berry is soft, mushy, or has a hole, skip it.
What to bring and wear
Wear light clothes. Wear a hat. Bring sunscreen. Bring a shallow box or clamshells. Carry berries flat. Keep them cool. A small cooler with ice packs works well. If you plan to make jam, bring firmer fruit containers.
Handling and short-term storage
Do not pile berries high. Crush happens fast. Use shallow trays. Line them with paper towels if you must stack. Move berries to a cool place as soon as you can. Refrigerate within two hours on hot days. Eat fresh within 24–48 hours for best flavor.
Quick gear note: a soft-sided cooler like a 20‑quart Coleman works fine for a family pick. A hard cooler like a Yeti keeps temps longer if you plan a long trip.
Pick for use: jam vs fresh eating
Pick for jam: choose firm, sweet berries. They hold shape during cooking. You want sugar and acid balance. Pick for fresh eating: choose the juiciest and most fragrant. They may bruise, so handle with care.
Watch the field
Avoid fields after heavy rain. Wet plants get damaged and disease spreads. Look for bugs and soft spots. Small holes, shiny trails, or lots of ants mean inspect more closely. If you see many damaged berries, ask the staff about that row.
Ask farm staff about the varieties that day. Some names you’ll hear: Chandler, Camarosa, Sweet Charlie. Each tastes and stores a bit different. Also ask about harvest limits. Many farms set limits to keep enough for all.
You will leave the patch with red fingers and a smile. Next, you will learn how to choose pumpkins that hold up on your porch and in your pie.
Choose Pumpkins at the Patch: Size, Stem, and Suitability
Walk the patch and test
Walk the rows. Turn pumpkins. Look for firm skin. Tap with two fingers. It should sound hollow. Avoid soft spots, cuts, or wet patches. A soft spot hides rot. Lift the rind. If it gives, leave it.
Quick checklist:
Stem and lift
Pick a pumpkin with a solid, dry stem. A green, soft stem means it was cut too soon. A broken stem invites rot. Lift using your legs. Squat, hold close, rise. For very large pumpkins, use a wagon or straps. A Mac Sports folding wagon works well for families. Forearm Forklift straps make heavy loads safe. I once watched a dad drop a 40‑pound gourd by trying to lift with his back. Don’t do that.
Pick for purpose
Think use first. A pumpkin for pie is not the same as one for a porch face.
If you want to bake, test weight in hand. A heavy small pumpkin means dense flesh. For carving, check the rib lines. Sharp ribs cut evenly.
Clean and store
Brush off dirt with a soft cloth. Do not soak pumpkins. Let any cut stem dry and callous for a day before storing. Store pumpkins in a cool, dry place. Off the floor on a pallet or shelf keeps air moving. Check them often. One bad fruit can rot the rest. Rotate stock. Use the softer ones first.
You will leave the patch with a clear plan. Next, you’ll learn quick preserves, recipes, and how your haul lasts on the shelf.
Use and Store Your Harvest: Quick Preserves, Recipes, and Community Tips
Chill and freeze berries fast
Pick clean berries. Rinse only if you will eat them right away. To chill, spread them on a tray. Put the tray in the fridge or an ice chest. Cold keeps the taste sharp.
Freeze whole berries on a tray. Once frozen, pack them into bags. They peel off the tray. You keep whole fruit and firm texture. One neighbor froze three trays the first day and had summer berries in December.
Quick jam in one pot
Use equal parts fruit and sugar by weight. Mash fruit in a heavy pan. Add sugar. Heat low. Stir often. Cook until thick. Bottle hot into clean jars. No pectin needed for quick jams that you’ll eat in weeks.

Pumpkin prep and puree
Halve pumpkins. Scoop seeds (save these). Roast halves flesh-side down for 45–60 minutes at 375°F. Or steam in a steamer basket until soft. Scoop and mash. Use a hand blender (e.g., Cuisinart SmartStick) for smooth puree. Cool. Pack into 1‑cup portions and freeze flat in freezer bags.
Roast the seeds
Rinse seeds. Pat dry. Toss with oil and salt. Try smoked paprika, cinnamon sugar, or za’atar. Roast at 325°F for 15–20 minutes. Stir once. Cool and store in airtight tins.
Label, date, and store safely
Label every jar and bag with the date and contents. Use freezer bags for puree and vacuum sealers (FoodSaver models) for long storage if you have one. Keep canned goods in a cool, dark spot. Rotate older jars forward.
Share, sell, or save seed
Give extras to neighbors or local food banks. Sell or trade at farmers markets. Small markets in Alabama will buy quality jars and fresh pies. Save seeds from the best pumpkins. Dry them and store in paper envelopes for next spring.
Keep notes. Write what worked and what failed. Date recipes and batches. You’ll thank yourself next harvest.
Move on to packing up the last jars and making a plan for the final steps at home.
Ready, Set, Harvest
You now know how to go, pick, and keep. Make a list. Pack light. Move slow. Pick with care. Choose ripe berries and firm pumpkins. Check stems. Check size. Think of meals. Think of friends. Wash and sort at home. Eat fresh. Freeze some. Can a few jars. Roast seeds. Bake a pie. Share bags with neighbors.
Tell the farm thank you. Take photos. Save the date for next year. You will get better. You will find your spots. Bring joy back to your table. Bring others with you. Keep notes. Save seeds. Return often. Bring stories.


Love the section on weather shaping the harvest. We went once when it had rained a ton and the pumpkins were muddy but still great. FYI: bring waterproof shoes and maybe an extra towel. Small random thought: a cheap hand broom helps clean pumpkin guts from the car seat later 🙈
This is nitpicky but: the article mentions both a 13-piece heavy-duty pumpkin carving kit and a 12-piece kit with stencils. Maybe a quick comparison table or a short sentence on who each kit is best for would be super helpful. Otherwise, enjoyed the ‘Ready, Set, Harvest’ energy — got me planning a weekend trip!
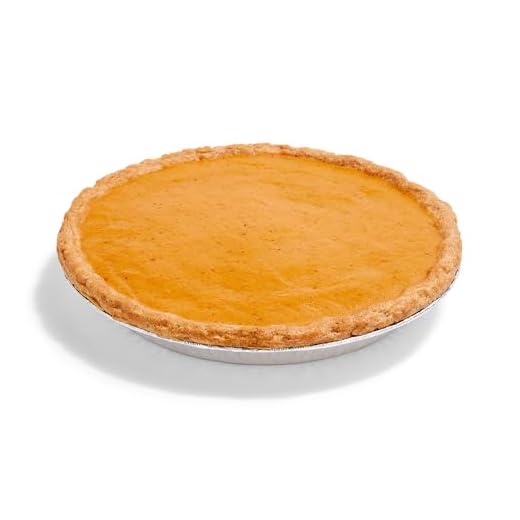
Also, anyone tried combining store-bought Whole Foods pumpkin pie with fresh whipped cream and a sprinkle of cinnamon? Game changer. 😋
Great suggestion, Zoe — we’ll add a short comparison to clarify who each kit suits best (durability vs. ease). And yes, store-bought pie + fresh whipped cream is a classic upgrade!
Thanks! Daniel — report back on your carving masterpieces 😄
Agree on the comparison! I was torn when ordering but ended up getting the heavy-duty kit for my carving ambitions.
Small nitpick: the Plan Your Visit section could use a little more on parking and restroom availability at Penton Farms. We showed up with a toddler and it would’ve helped to know where the nearest facilities were. Otherwise, great roundup. 👍
Thanks for the feedback, Grace. Good point — we’ll add more on logistics like parking and restrooms in the next update. Appreciate you flagging that!
Picked pumpkins last year with my kids and we ended up with three pumpkins: one for carving, one for pie, one for the porch. The article’s bit about size vs suitability is spot on — got a huge one that was all hollow (good for carving) and a dense medium one that made an excellent pie.
Anyone used the 13-piece heavy-duty kit vs the 12-piece with stencils? Curious which is actually better for detailed faces.
If you’re only doing 1-2 pumpkins a year, go with the stencil set. If you host an annual carving night, the heavy-duty tools pay off.
Great points — thanks all! Guess I’ll buy the stencil kit first and upgrade if I become the neighborhood pumpkin master 😂
Love the neighborhood pumpkin master goal! If anyone wants links to basic stencil patterns or a quick cleanup checklist, I can post them here.
Also, keep old tea towels or a plastic tablecloth handy. Carving = huge mess. The cooler bag works great for transporting carved pumpkins if you’re moving them somewhere cooler at night.
Both are good — if you plan on intricate designs the heavy-duty kit might last longer, but the stencil kit is perfect for easy family fun. Consider the 13-piece for durability and the 12-piece for variety of patterns.
I have the 12-piece with stencils. Great for beginners — the stencils save sooo much time. The heavy-duty set felt better for thicker rinds tho.
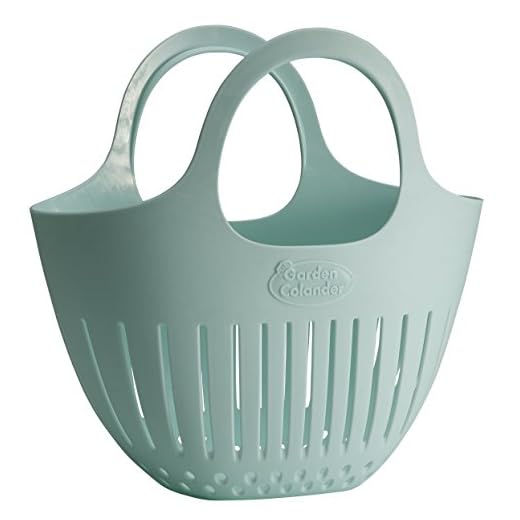
Loved the Penton Farms tips — we took my niece last weekend and the strawberry picking was shockingly fun. Quick notes: bring that Hutzler mini colander basket (saved us when it started drizzling) and a cooler bag for the ride home. Mason jars were perfect for jam-making later.
Also, pro tip: pick strawberries early morning, they’re sweeter. 😊
Thanks for sharing, Ethan — so glad the Hutzler and cooler worked out. Did you try the quick jam method from the article with the Set of Six 16oz Mason Jars?
Yesss re: morning picks. I learned that the hard way — afternoon berries were mushy. Did you use frozen or fresh for your jam?
We did fresh + a dash of lemon juice and a bit less sugar. Turned out chunky and delicious. Gave one jar to the farm stand folks 😊
Okay honest review: Whole Foods Market Whole Pumpkin Pie in the product list made me chuckle. If you’re lazy and have company? Buy it. If you’re proud of your pie-making ego, make it from fresh pumpkin. The article’s pumpkin selection tips actually convinced me to try homemade this year.
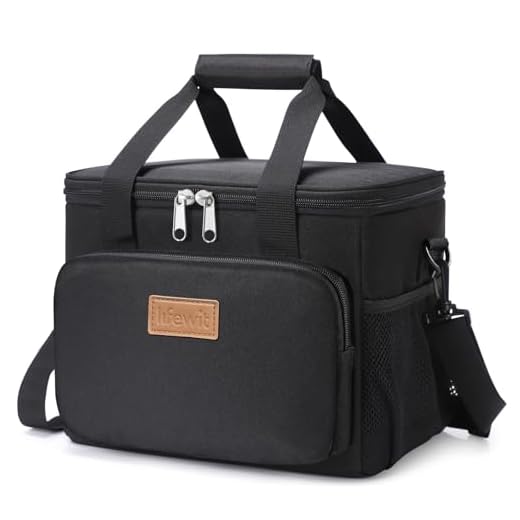
Also, shoutout to the insulated 9L lunch cooler bag — bought one for hauling pies and it kept the filling firm on a 30-min drive. 10/10
Nice tip Liam. I’ll try the frozen berries trick next time.
Ha, agreed — store-bought pie is a lifesaver for certain occasions. But homemade from a good pumpkin is next-level. Glad the cooler bag was useful!
I used the cooler last Thanksgiving to move food between my place and my sister’s and it was clutch. Pro tip: freeze a zipped bag of berries to help keep temps down without getting stuff soggy.
Quick storage question: the article mentions mason jars for preserves — how long do those jams usually keep? I wanna bring some to Thanksgiving but not sure if homemade jars will last that long.
Good question — properly processed and sealed mason jars (the Set of Six 16oz ones mentioned) can last up to a year in a cool, dark place. Once opened, keep refrigerated and use within a few weeks.
I made jam in September and still had some in January last year — as admin said, sealed jars are great. Just check seals before using.
This article made me want to drive to Alabama right now lol.
I especially liked the pumpkin selection tips — the stem advice is gold. Also, the carving kits listed (13-piece and 12-piece) look super tempting, but are they worth it if I’m a casual carver?
Anyone tried the small Hutzler mini garden colander basket for strawberries specifically? I have tough-to-motivate kids and want something fun for them to hold while picking. Does it hold enough or is it just cute?
Also, tie a little name tag on it if you have multiple kids — saved my sanity last season 😂
I used the Hutzler last year — it’s small but perfect for kids. They like carrying it and it fits in the cooler easily. Not for bulk picking but great for entertaining the little ones.
The Hutzler is mostly about ease and fun for kids. If you need to pick large amounts, bring a bigger basket too — but for photos and keeping the kids engaged, it’s ideal.
Perfect — buying one tonight. Thanks!