
Bake Better. Every Time.
You can make perfect cakes in your cake maker. Use plain steps. Trust your tool. Control heat, batter, and time. Serve warm cake with pride and simple joy each time.
What You Need
10 Essential Tips for Your First Cake
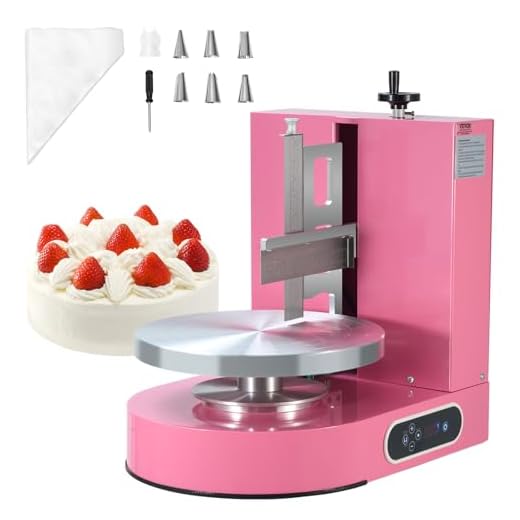
Know Your Cake Maker
Why it beats your oven sometimes — and why you must listen to it.Read the manual. Learn how your maker heats. Learn which zones run hot and which hold steam.
Test your maker with plain batter. Time three short runs. Note when the center sets and when the edges brown.
Mark results on the machine. Use tape or a sticky note. Make a tiny map of hot spots and run times.
Lower the heat 10% if edges brown first. Cut 2–3 minutes if the top firms too fast. Raise time, not temp, if the center stays wet while the crust looks done.
Change one variable at a time. Do not tweak both time and temperature. Keep records. A beaten cake teaches you faster than guesses.
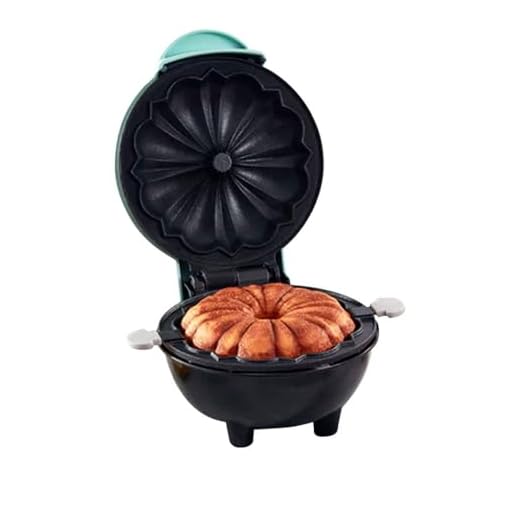
Pick the Right Recipe
Want a foolproof crumb? Pick recipes that suit the machine, not the other way around.Choose recipes with a wet batter that can rise in a small well. Avoid heavy, dense loaves at first. Try a cupcake or sponge recipe before a pound or fruit cake.
Seek recipes labeled for small pans or electric cake makers. If you adapt a pan recipe, cut it down by weight. Use a scale. Halve or third the batch by weight, not by vague cups.
Keep sugar and fat ratios steady. Use recipes that call for baking powder rather than yeast for speed. Note rise times so you can time the run.
Let good recipes make your machine shine.
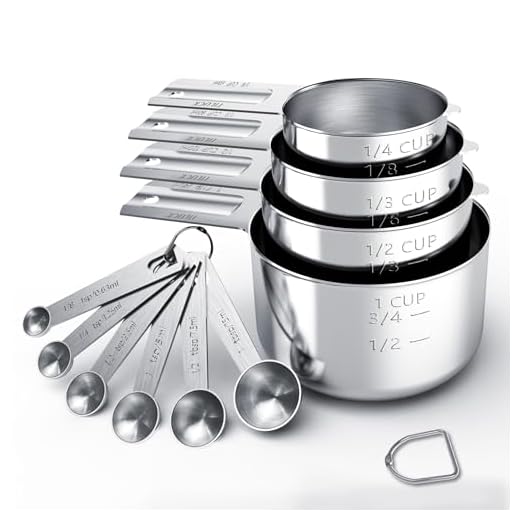
Measure Like a Pro
Small errors make sad cakes. Want a moist crumb? Measure and mean it.Weigh your flour. Use a scale. Skip cups when you can.
Scoop and level only if you must. Use grams for repeatable results.
Measure liquids in a clear cup. Read at eye level. Hold steady.
Bring your eggs to room temperature. Cold eggs slow the rise.
Sift dry ingredients to stop lumps. Tap the sieve. Shake gently.
Mix sugar into the wet first. Help it dissolve before you add flour.
Choose the correct fat. Respect how each one behaves.
Respect ratios. Treat the recipe as a map. Do not improvise until you master it.
Mix with Purpose
Mix too little and you get lumps. Mix too much and you get steel. Learn the sweet spot.Combine dry with dry.
Combine wet with wet.
Fold, do not beat, once you add flour.
Avoid overmixing. Overmix builds gluten. That makes a tough crumb.
Use a spatula for the final folds.
Stop when the batter looks even.
Fold like you close a book. Fold until streaks vanish.
Scrape the bowl.
Spoon batter into the pan with care.
Tap the pan once to settle the batter and release big air pockets.
Clean the rim.
Keep a clean seal to steady the steam.
Move with calm hands.
Work quick. No rush.
Trust the batter when you give it careful steps.

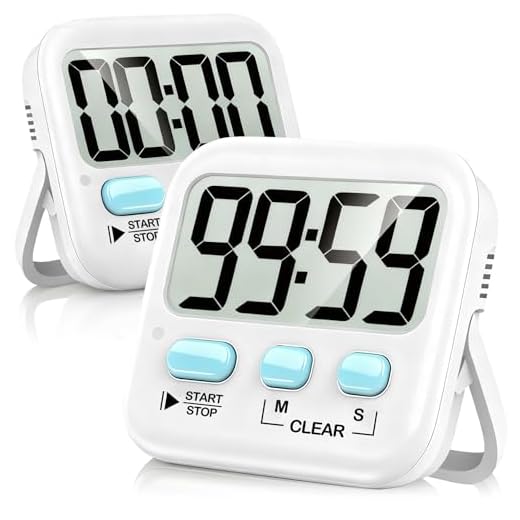
Control Heat and Time
Think like a clockmaker. How long, how hot, and when to peek.Preheat your cake maker. Warm plates give an even cook. Heat it to the recipe temp before you pour batter.
Set the timer to a shorter test time first. Check the cake at two thirds of the expected time. Probe the center with a toothpick or thin skewer. It should come out clean or with moist crumbs.
Use these quick rules:
Close the lid after checks. Do not open more than needed. Steam will escape and the cake can sink. If edges brown too fast, lower the heat or lift the lid briefly to release steam. Learn the sweet spot for your model. Record exact times for each cake type.

Cool, Release, and Finish
Patience wins. Want a clean slice? Cool it right and finish with flair.Let the cake rest for 5–10 minutes in the maker.
Run a thin knife around the edge to free it.
Flip the cake onto a wire rack.
Cool the cake fully before you frost it. Warm cake will melt icing.
Level the top with a serrated knife for flat layers.
Brush simple syrup (equal parts sugar and water) to moisten dry cakes. For example, brush 1–2 tablespoons per layer.
Chill delicate fillings before assembly to keep them firm.
Keep slices airtight to hold moisture.
Reheat slices gently in a low oven or microwave for 10–20 seconds for a warm bite.
Store cooled cakes in a cake box or wrapped tight.

Bake, Learn, Repeat
You will get better fast. Test, note, tweak. Respect heat and measure. Serve warm cake. Watch faces light up. Try now and share your photos and notes.


Loved the “Know Your Cake Maker” section — I never realized my machine runs a little hotter on the left side 😅
The step-by-step on cooling and release was super helpful. I tried the tips about loosening the edges with a thin spatula and it saved my last cake from becoming a sad pancake.
Also, the measuring advice (weighing flour > spooning into measuring cup) is a game-changer. Thank you!
So glad that tip helped, Emma! Oven and cake maker hot spots are sneaky — rotating pans or swapping sides can help if your model allows it.
Totally! I mark the hot spot with a sticky note lol. Rotation helped my layers a ton.
Same here — I tape a little sticker to the base, such a small hack but big difference.
Nice guide. Quick Q: in ‘Control Heat and Time’ you suggest reducing temp for dense batters — by how much though? 10°C? 25°F? I tried lowering a ton and ended up undercooked inside.
If you have a thermometer, monitor internal temp — 95–99°C (203–210°F) for most cakes when done. Helps avoid over/under-baking.
Good question, Liam. I usually recommend reducing by 10–15°C (about 20–25°F) and increasing time, but every cake maker is different — try 10°C first and add 5–10 minutes, checking with a skewer.
Nice walkthrough. A couple of things I wished were covered more:
1) Alternatives for self-raising flour when someone only has plain flour
2) How to adapt recipes for high-altitude (I live at 1800m)
Would love an extra section or a quick cheat sheet for substitutions and altitude adjustments.
At 1800m I drop baking powder by ~15% and add 1–2 tbsp extra liquid per cup. But test small batches first.
Great suggestions, Noah — we can add a substitutions cheat sheet. Quick tips: for 1 cup self-raising, use 1 cup plain + 1.5 tsp baking powder + 1/4 tsp salt. For high altitude, reduce baking powder slightly and increase liquid; we’ll add exact ranges in an update.
I appreciate the ‘Measure Like a Pro’ section but wanted to add: if you don’t have a scale, spooning flour into the cup and leveling is MUCH better than scooping. Scooping packs flour and messes ratios.
Also, if anyone’s curious, I converted a bunch of my favorite cup-recipes to grams — happy to share a mini list. Typos aside, this guide is solid.
I’ll take any conversion lists. Also, a note that different flours have different densities so grams are just so much easier.
Yes please share! My baking math is chaotic but willing to learn.
Great point, Ethan — spoon-and-level is the classic reliable trick. If you want to share conversions, we can include them as community tips.
OMG I tried this last weekend and my cake maker delivered perfection! 😭
I followed the cooling/release steps to the letter and my cake popped out like a dream. Even the crumb looked bakery-level.
Pro tips from me:
– Use a thin offset spatula for edges
– Let it cool a bit but not stone cold
– Grease AND line (I do both for peace of mind)
Thanks for putting this together!
What do you use to line? Parchment or silicone? I’ve been debating.
Parchment + light grease = best combo. Also: don’t forget to trim the parchment to reduce crumbs sticking to the sides.
So happy to hear it worked out, Maya — those little rituals make a huge difference. Love the double-protection greasing + lining tip!
Parchment for me. Silicone for nonstick pans only — parchment gives better crisp edges.
Right? I do the same. Lining feels like overkill but then you never worry about sticking again.
This guide made me feel like I could marry my cake maker and adopt a dozen cupcakes. Jk 😂
But seriously, the mixing section saved me from that rubbery gluten nightmare. I used to mix like I was defusing a bomb. Now I fold, breathe, and stop. Cake came out tender and proud.
Also, sometimes the recipe’s mixing order matters more than you think. I ruined one batch by adding eggs too early.
Same — and a quick chill of the batter in summer helps if it gets greasy. Not that I’ve done that… often. 😅
You had me at ‘defusing a bomb’ lol. Folding = therapy.
Haha love the cupcake adoption plan, Sophia. Folding gently is underrated — glad it worked!
Small rant: my cake sticks to the bottom sometimes even after greasing. I follow the ‘cool, release, finish’ steps but occasionally it tears when I try to flip it out. Any troubleshooting ideas?
I had this — turned out my parchment didn’t cover the bottom fully. Little gap = big tear. Also chilling the pan briefly helps set the cake so it releases cleaner.
Try letting it cool enough that the cake pulls slightly from the sides (but not so cold it shrinks). Run a thin spatula around the base, then invert quickly. Also check if your grease is breaking down (too much oil can brown and stick).