
Unlock the Creamy Secret of Nut Milk
Did you know that commercial nut milks often contain additives and preservatives? Making your own nut milk is easy, rewarding, and healthier! This guide will show you how to create delicious, creamy nut milk at home. You’ll love how simple it is.
Gather Your Essentials
To make nut milk like a pro, you need a few key items:

Deliciously Smooth Almond Milk: The Ultimate Dairy-Free Vegan Recipe
Choose Your Nuts Wisely
Almonds, Cashews, or Hazelnuts? The Choice is Yours!Select your favorite nuts. Almonds offer a classic, subtle taste. They’re the go-to for many. Cashews add incredible creaminess. Use them for a richer texture. Hazelnuts provide a deep, nutty flavor. They can elevate your milk to new heights.
You can choose one type or mix them for a unique blend. Picture this: a mix of almonds and cashews creates a smooth, balanced nut milk. Consider your taste preferences.
Explore local options or specialty stores. Freshness matters. Look for raw, unsalted nuts. Your nut milk will shine based on this choice. Take a moment, choose wisely, and your nut milk adventure will begin!

Soak for Success
Why Soaking Makes All the Difference!Soak your nuts. Place them in a bowl and cover with water. Let them sit for 4 to 12 hours. This simple step softens the nuts. It enhances both flavor and nutrition.
Think of it this way: if you skip this soak, your nut milk will taste gritty and bland. Nobody wants that. Imagine biting into a nutty, creamy cup of milk instead. Trust the soak; your future self will thank you.
Pro tip: For a boost, add a pinch of salt to the soaking water. It will deepen the flavor. After soaking, rinse your nuts well. They are now ready for the blender.

Blend Like a Pro
Time to Unleash the Power of Your Blender!Drain and rinse your soaked nuts. This removes any residue. Now, add the nuts to your blender. Pour in fresh water. The common ratio is 1 cup of nuts to 3-4 cups of water. Adjust this for thicker or thinner milk.
Blend until smooth. Start on a low setting, then crank it up. This is where the magic happens. Picture a thick, creamy mixture forming. Embrace it; don’t rush. Blend for at least 1-2 minutes. You want it silky, like a well-crafted sauce.
Think about your favorite café’s nut milk. That creamy texture? It starts here. Once finished, you’ll be one step closer to a delicious homemade treat.

Strain for Perfection
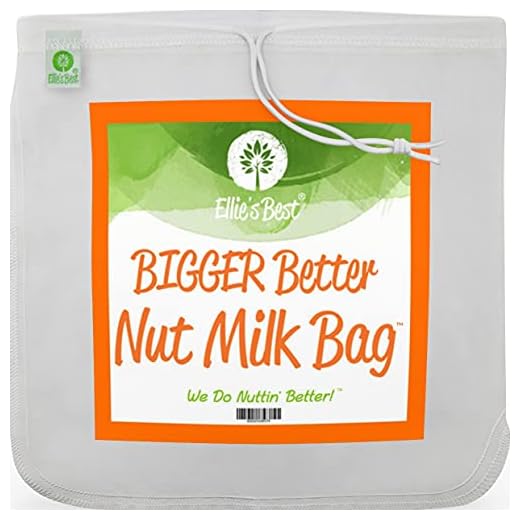
Say Goodbye to Grit and Hello to Creamy Goodness!Pour the blended mixture into a nut milk bag. Hold it over a bowl or large pitcher. This keeps your workspace clean.
Squeeze gently. Use your hands to press out every last drop of milk. Imagine the rich liquid flowing out, leaving behind the pulp. This step is crucial. You want your nut milk smooth and free of bits.
Example: Think of it like a sponge; the more you squeeze, the better the result.
Take your time here. Enjoy the process. You’ve come this far. Embrace the transformation. Each squeeze brings you closer to that creamy reward. Your perfect nut milk awaits!
Flavor It Up
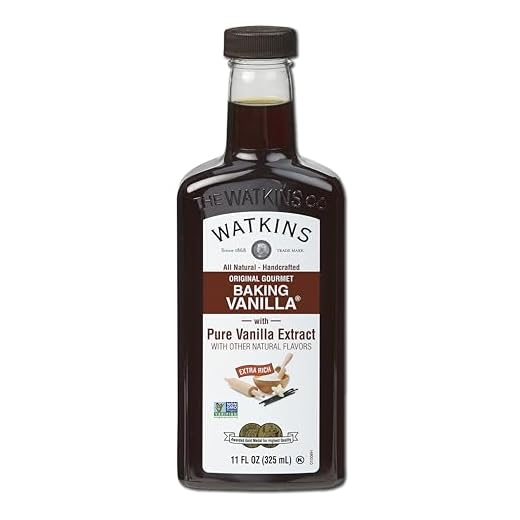
Why Settle for Plain? Add Some Flair!Taste your nut milk. It may need a little extra love. Think of it as your blank canvas.
Add flavorings to enhance it. Consider vanilla extract, a pinch of salt, or a touch of sweetener like maple syrup or honey. A dash of cinnamon can awaken the senses. These small additions transform your nut milk into something special.
Experiment and play. Maybe a hint of cocoa for chocolate lovers or a splash of coconut for tropical vibes.
Follow your taste buds. This is your creation. Make it uniquely yours. Have fun with flavors! Each batch will tell a story, reflecting your personality and preferences. Enjoy the process!
Store and Enjoy
Keep Your Nut Milk Fresh for Days!Pour your nut milk into a clean jar. Choose a glass container; it keeps the milk fresh. Seal it tightly to avoid spills.
Store it in the fridge. Your homemade nut milk lasts about 3-5 days. Keep an eye on it; freshness is key.
Shake well before using. Separation is normal—just give it a good mix.
Imagine sipping it in different ways. Add it to your morning coffee. Blend it in smoothies. Drink it straight from the glass. Enjoy it however you please.
Every sip is a testament to your effort. Relish the creamy goodness you’ve created. Enjoy your nut milk journey!
Congratulations, Nut Milk Master!
You’ve learned to make nut milk like a pro. With practice, you’ll refine your skills. Enjoy your creamy creations. Share them with friends. Try different nuts and flavors. Now, go create and show the world your nut milk magic!


I tried making hazelnut milk and it was such a disaster. I forgot to strain it and ended up with a chunky mess. 😂 Lesson learned!
We’ve all been there, Chris! Hazelnut milk can be tricky. Did you at least enjoy the flavor?
Haha! Chunky nut milk sounds like a new trend! 😂 Maybe you can make smoothies instead?
This guide is solid, but I think you could’ve gone a bit deeper into the straining process. I ended up with bits of almond in my milk… not ideal. 😅 Still tasted good though!
Exactly! A second strain might do the trick. Gonna give it another shot!
Yeah, I had the same issue! Maybe I need to strain twice? 🤔
Thanks for the feedback, Tommy! Straining can definitely be tricky. Have you tried using a nut milk bag?
I just tried making nut milk for the first time and WOW, it’s amazing! 🥳 I went for almond milk and followed all the steps. The soaking really made a difference in creaminess, I think. I added a bit of vanilla and it tastes like dessert! 🎉 Can’t believe I waited this long to try it!
Right? I always thought it was too complicated. Almond milk is super easy once you get the hang of it.
What kind of blender do you have? I feel like mine needs to be stronger for better blending!
So glad to hear you loved it, Jenny! Vanilla is such a great addition. Have you tried other nuts yet?
Just a heads up, if you’re going to flavor your nut milk, be careful with the amount! I went a little overboard with the cocoa powder and now it tastes more like chocolate soup. 😂 Still drinkable, though!
Haha, chocolate soup sounds like a fun experiment! Did you add any sweetener?
Right? 😂 I might just go with it and call it a dessert!
Omg, that’s hilarious! But who doesn’t love a good chocolatey drink?!
I love the idea of making my own nut milk, but honestly, the cleanup is a whole ordeal. 🥴 Wish there was a way to make it easier!
Cleaning up can be a hassle for sure! Have you tried using a blender with a self-cleaning feature?
Or just use the nut milk bag and rinse it immediately! Makes it easier!
You guys, this was way easier than I thought! I made cashew milk and it’s soooo creamy. 😍 I didn’t even soak them for that long because I forgot, but it still turned out great!
Cashew milk is delicious! So glad it worked out for you, Emily! Did you add any flavors?
I always soak mine overnight for the best results. Maybe try that next time!
I’ll definitely try soaking longer next time! Just curious, what flavors do you usually add?
Not sure if I’m sold on this whole nut milk thing. I mean, I like regular milk and it’s easier to just pour from the carton. But I guess this is good for a change?
I used to think the same, but once I tried homemade, I couldn’t go back! It’s so fresh!
Totally get that, Brian! Nut milk is definitely not for everyone. But it’s fun to experiment! Have you tried it in coffee?
I’m allergic to almonds, so I was really excited to see other nut options in this guide. 😁 I made macadamia nut milk and it turned out incredible! Thanks for the tips!
I didn’t even think about macadamia! I need to try that next!
That sounds amazing, Sarah! Macadamia nut milk is so rich and creamy! What flavors did you add?
This guide is great! I made walnut milk yesterday and it was super easy! Just a little cinnamon added, and wow! Who knew nut milk could be this fun? 😄
Walnut milk sounds delicious! Love that you added cinnamon. Have you tried it in coffee yet?
Cinnamon sounds like a game-changer! Might have to try that next time!