
This step-by-step guide outlines how to effectively use the Cuisinart DFP-14BCNY Food Processor to prepare a variety of sauces and dips with ease. By following the instructions, you’ll learn to combine ingredients efficiently, achieve the perfect consistency, and enhance the flavors of your dishes. Whether you’re making a classic pesto, creamy hummus, or zesty salsa, this guide provides all the necessary tips and techniques to elevate your culinary creations in no time. With the Cuisinart food processor, transforming fresh ingredients into delectable sauces and dips has never been simpler.
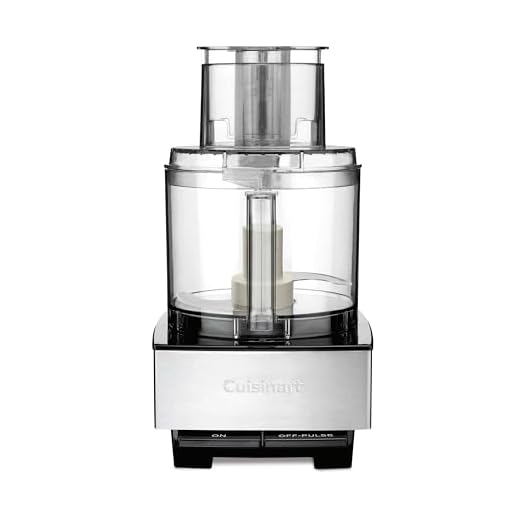
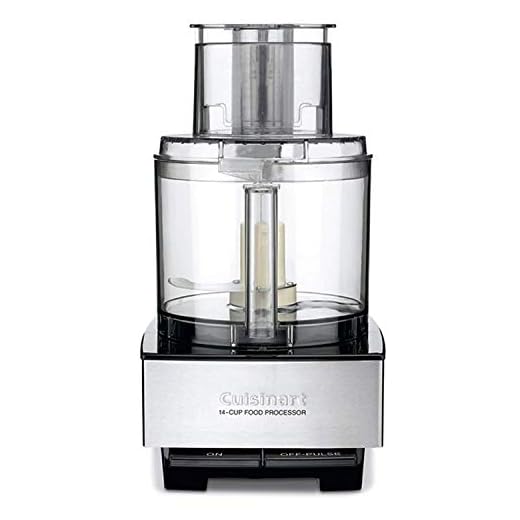

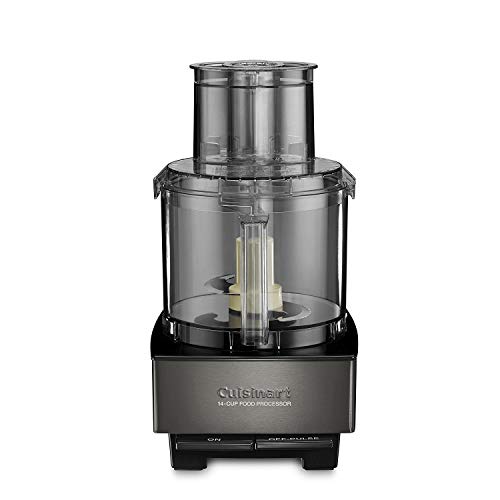
Guide to Using a Cuisinart Food Processor: A Comprehensive Review
Gather Your Ingredients
Select the sauces or dips you want to prepare. Consider popular options like pesto, hummus, salsa, and dressings. Each of these choices brings unique flavors and textures to your meals. Think about what complements your main dishes or snacks best.
Gather all necessary ingredients for your chosen recipe. Check for the following items:
- Fresh herbs (basil for pesto, cilantro for salsa)
- Vegetables (garlic, bell peppers, chickpeas)
- Oils (olive oil for pesto and dressings, tahini for hummus)
- Spices (salt, pepper, cumin)
- Additional flavorings (lemon juice, vinegar, nuts)
Ensure you have everything on hand before you start cooking. This will make the preparation process smoother and more enjoyable!

Assemble the Food Processor
Ensure your Cuisinart DFP-14BCNY Food Processor is clean and properly assembled. Start by washing all removable parts, including the bowl, lid, and blade, with warm, soapy water. Rinse thoroughly and dry with a clean cloth.
- Attach the bowl securely to the base. Align the bowl’s locking mechanism with the base and turn it clockwise until it clicks into place.
- Fit the appropriate blade attachment. For most sauces and dips, use the chopping/mixing blade. Place the blade onto the motor shaft in the center of the bowl, ensuring it fits snugly.
- Confirm that the lid is locked in place over the bowl, ensuring a tight seal for optimal blending.
With everything securely in place, your food processor is ready for use.
Prep Ingredients
Chop larger ingredients into smaller pieces for easier processing and even cooking. For example, cut garlic cloves, onions, or vegetables like bell peppers and carrots into quarters or smaller chunks. This not only helps them blend more smoothly but also ensures that they cook evenly, preventing some parts from becoming mushy while others remain raw. Make sure to use a sharp knife for clean cuts and maintain a steady hand to avoid any accidents.
Measure out all ingredients according to your recipe. Use measuring cups and spoons for dry ingredients like flour and sugar, and liquid measuring cups for oils and liquids. Ensure precision by leveling off dry ingredients with a straight edge, and check the measurement at eye level for liquids to avoid overflow. Organize your ingredients in separate bowls or containers to streamline your cooking process and keep everything tidy.
Add Ingredients to the Bowl
Carefully add the prepped ingredients into the food processor bowl. Layer them appropriately for the best blending results.
- Pour liquids such as oils or vinegars into the bowl first. This helps create a base that allows the blades to move freely and ensures a smooth mixture.
- Follow with softer ingredients, like diced vegetables or herbs. Their texture will help in breaking down the subsequent solid items.
- Finally, add denser ingredients like nuts, grains, or chunks of meat. Placing these on top ensures they get adequately mixed without overwhelming the other components.
By layering your ingredients this way, you promote an even blend and enhance the overall consistency of your dish. Remember, the order matters, so take your time to get it right!
Process the Ingredients
Secure the lid on the food processor firmly. Pulse the ingredients a few times to kickstart the blending process. This initial pulsing helps to break down the larger chunks and mix the flavors. For a smoother consistency, switch to the continuous run feature. Let the food processor blend until the mixture reaches your desired creaminess. If you’re making a hummus, for instance, you might want it silky and smooth, while a salsa might benefit from a chunkier texture.
If you prefer your dips with some bite, pulse intermittently rather than blending constantly. Start by pulsing for just a second or two and then check the texture. If it’s too chunky, pulse again; if it’s just right, stop! This method gives you more control over the final product. Experiment with favorites like guacamole or a bean dip, adjusting the pulsing time until you achieve that perfect balance of smooth and chunky that suits your taste.
Taste and Adjust Seasoning
Blend your sauce or dip until smooth, then pause to taste it. This is your opportunity to fine-tune the flavor profile. If it feels bland or lacks depth, adjust the seasoning accordingly:
- Add salt gradually, tasting as you go to avoid over-salting.
- Sprinkle in freshly cracked pepper for a touch of heat.
- Incorporate additional spices or herbs that complement the existing flavors, such as garlic powder, chili flakes, or fresh basil.
If the texture is thicker than you prefer, remedy it by drizzling in a bit of water or oil while the food processor is running. This allows the ingredients to blend seamlessly, creating a smoother consistency. Keep blending until you reach your desired thickness, tasting again to ensure the seasoning is just right.
Serve and Store
Transfer the finished sauce or dip to a serving bowl, using a spatula to scrape out every last bit for maximum flavor. If you’re planning to enjoy it right away, gather your favorite dippers—like chips, veggies, or bread—and dive in. If you’re saving it for later, ensure you let the sauce cool to room temperature before moving on to the next step.
Store the cooled sauce or dip in an airtight container. Seal it tightly to prevent air from getting in, which can lead to spoilage. Place the container in the refrigerator; most sauces and dips can last several days when properly stored. When you’re ready to enjoy it again, simply take it out, give it a gentle stir, and if desired, serve it slightly warmed or at room temperature for the best taste.
Mastering Flavorful Combinations
In conclusion, the Cuisinart DFP-14BCNY Food Processor simplifies the art of making sauces and dips, allowing you to elevate your culinary creations with ease. By mastering the steps outlined in this guide, you can enjoy a diverse range of flavors that enhance both your meals and snacks. So, dive into your kitchen, experiment with different ingredients, and let your creativity flow—delicious homemade sauces and dips are just a blend away!


Thanks for sharing your pesto success! Fresh basil really makes a difference. I’d love to hear more about the other sauces everyone has tried with the Cuisinart DFP-14BCNY. Keep experimenting!
Does anyone else find that some sauces take longer to process than others? I tried making a hummus and it just wouldn’t come together until I added more liquid. Any thoughts on how to avoid that?
That’s a common issue with hummus! Adding a bit more olive oil or water can help achieve that creamy texture. It’s all about finding the right balance!
I love the versatility of the Cuisinart DFP-14BCNY! I’ve made everything from salsa to creamy dressings. Does anyone have a favorite non-traditional sauce that’s worked well for them?
I’m so glad you’re enjoying your food processor! Non-traditional sauces can be so fun to experiment with. I’d love to hear what everyone is trying out!
This guide is awesome! I didn’t realize how easy it was to make my own sauces. Now I’m thinking about trying my hand at a barbecue sauce – any tips on that?
Barbecue sauce is a fantastic project! Start with a base of ketchup or tomato paste, add some vinegar, brown sugar, and your favorite spices. Don’t forget to taste as you go!
I wish there were more tips on how to clean the food processor afterward! It can get pretty messy, and sometimes I feel like I’m spending more time cleaning than cooking.
Great suggestion! Cleaning tips are super important. I’ll definitely include some cleaning hacks in the next guide. Thanks for the feedback!
Could you do a section on vegan sauces? I’m trying to make more plant-based meals and would love some inspiration!
Absolutely! Vegan sauces can be so flavorful and versatile. I’ll work on including some great options in a future article. Thanks for the idea!
I wish you would include some recipe ideas for dips that are great for parties! I always struggle to find crowd-pleasers that can be made ahead of time.
That’s a great idea! I’ll definitely include some party dip recipes in future guides. They can really make entertaining so much easier!
I love this guide! I used the Cuisinart DFP-14BCNY to make a homemade pesto sauce, and it turned out amazing! Just a heads up, if you’re using fresh basil, make sure to wash it thoroughly to avoid any grit. Anyone else had success with different sauces? Would love to hear about it!
I didn’t think of adding garlic to my dips until I followed this guide! It really elevates the flavor! But I prefer to roast my garlic first for a sweeter taste. Anyone else tried that?
Roasted garlic is a game-changer! It adds such a rich flavor. I love that you’re experimenting with flavors. Keep it up!
I had some trouble with my Cuisinart DFP-14BCNY not processing everything evenly. I followed the guide but still had chunks left. Any troubleshooting tips?