


Why You Want Control
You want food that tastes alive. Heat is your tool. But you must steer it. The grill gives char and smoke. Griddles give crust and even heat. Learn how each works. Know where each wins. Know what to expect. Start small. Build skill. Eat well.
This guide shows you the way. First, Know Your Tool: Grill vs Griddle. Then, Set Up for Success: Tools, Fuel, and Surface Prep. Next, Master Heat: Control and Zoning. After that, Techniques that Transform: Sear, Smoke, Sizzle. Then, Maintenance and Care: Keep the Engine Running. Finally, Menu and Meal Plans: From Weeknight to Feast. You will get clear rules. You will tame the fire. You will rule the flat iron.



Tame Your Grill in 5 Minutes: Unbelievable Cooking Hack
Know Your Tool: Grill vs Griddle
How they use heat
A grill throws heat up. Flames and hot coals send radiant heat. Food hangs above the fire. That gives you fast sear and smoke depth. A griddle presses heat into the food. The flat plate makes uniform contact. You build crust across the whole surface. Each tool asks a different move from you.
Fuel and flavor
Fuel changes everything. Charcoal and wood add bite and smoke. Pellets add a steady smoke note. Gas gives instant reply and wide heat bands. Electric gives steady control in tight spots and apartments. Match fuel to mood and rules of the space.
Shape, lid, and size matter
Flat or ridged? A flat top holds juices and flips eggs. Ridged grates lift fat and make classic sear marks. A lid turns a grill into an oven for whole birds and roasts. Small cooktops heat fast. Big rigs hold steady through a feast. Pick to fit the food and the crowd.
Pick the right jobs
Use this quick guide to decide.
Real-world tips you can use now
Preheat hard. Feel the heat with your hand, not your wrist. Use zones: one hot side, one cool side. Keep a spray bottle for flare-ups on grills. Oil the griddle, not the food, for a clean release. Try one swap: cook steaks on the griddle once. You will see the difference in crust and speed.
Set Up for Success: Tools, Fuel, and Surface Prep
The right kit
You want a few honest tools. Buy a stiff wire brush with a long handle. Get a thin metal spatula. Pick a long probe thermometer — ThermoWorks Thermapen is the pro move; Inkbird is a good budget pick. Add tongs, a heatproof glove, and a spray bottle for flame control.
Choose fuel with intent
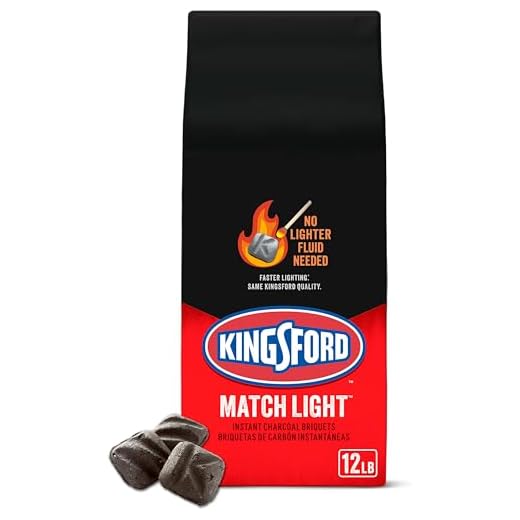
Lump charcoal gives fierce heat and low ash. Briquettes burn steady and long. For fast starts, use instant-light briquettes. They save time at camp and on busy nights.
Oils and surface prep
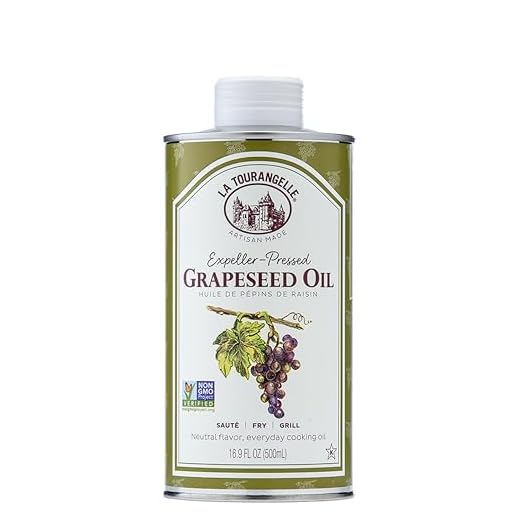
Pick oils with high smoke points. Avocado, refined peanut, grapeseed, or refined canola work. For a flat griddle, heat first. Wipe a thin film of oil and rub it in with a paper towel. For cast iron, add a thin coat of fat and heat until it darkens. Repeat twice for a tight season.
On grates, oil the food, not the metal. Put oil on the steak or fish. That keeps flames down and marks clean.
Gas and safety checks
Inspect hoses and seals before you fire up. Use a soap-and-water mix to find leaks. Replace cracked hoses. Keep a wrench and spare regulator nearby. Know where the shut-off is.
Layout for calm cooking
Set your heat zones with a plan. On a charcoal grill, push coals to one side. On gas, light half the burners. Keep a cool side to rest food. Prep your mise en place before guests arrive. Lay plates, tools, and pans within arm’s reach. You will cook with calm hands.
Master Heat: Control and Zoning
Speak the language
Heat is the tool. Learn its grammar. Watch how metal glows. Hear how fat sizzles. Feel the pull of a hot grate. You can tame it.
Make zones
Set one side hot and one side cool. On charcoal push coals to one side. On gas light half the burners. On a griddle run a hot strip and a cooler strip. Use the hot side to sear. Use the cool side to finish.
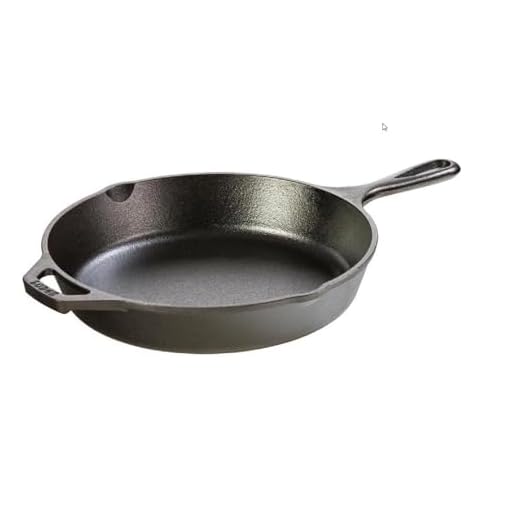
A cast iron pan holds heat and makes a crust in a hurry. It will save you on a windy night.
Read the metal
Use your hand test for a rough feel. Hold it 6 inches above the grate. Count seconds. One or two = very hot. Three to four = medium. For precision, use an infrared gun. Aim for these sweet spots:
Sear, then move
Put meat on the hot side. Let it make a crust. Don’t poke. Flip once. Move to the cool side to finish. For a whole bird, sear the skin then move it to the indirect zone. This saves moisture.
Lid, air, and flare-ups
Close the lid to trap heat for roasts and whole birds. Leave it open for fast sears and steaks. When fat flames up, move the food away. Douse stray flames with a spray bottle or lid. Turn burners down or rake coals to cool.
Learn to move food, and you will cook like a pro. Next, put these zones to work with techniques that change everything.
Techniques that Transform: Sear, Smoke, Sizzle
Steaks
Dry the meat with paper towels. Salt early so it draws and seasons. Heat hard. Let a crust form. Don’t prod it. Flip once. Let it rest. A two-minute rest makes a world of difference. Picture a strip steak that browns like leather and yields juice when you cut it.
Burgers
Handle patties gently. Press lightly when shaping. Let the fat render. For smash burgers, press once and release—thin, fast, crisp edges. For thick burgers, sear both sides, then move to gentler heat. Flip just once. Too many turns rob a burger of crust.
Fish and Veg
Keep fish cold. Oil the skin so it won’t stick. Use a wide spatula and a calm hand. For vegetables, cut to even sizes. Color matters more than doneness early on. High heat gives quick browning and keeps veg bright.

Smoke and Chips
Use chips for a faint wood note. Dry chips flash smoke. Soak chips for slow, steady smoke. Make a foil pouch or use a smoker box. Hickory and oak stand up to beef. Apple and cherry suit fish and pork. A little smoke goes far. Too much ruins a clean sear.
Griddle Moves
On a flat top you push and turn. Move food to collect drippings and brown evenly. Use oil with a high smoke point. Finish with butter for flavor, not for the sear. Scrape and tilt to manage fat and debris. A clean plate sears better.
Pancakes, Eggs, Small Things
Preheat and keep temps steady. Pancakes need even heat to rise and brown. Eggs cook fast; don’t crowd the pan. Let heat do its job. If something sticks, you’re too hot or not enough fat.
Maintenance and Care: Keep the Engine Running
Daily Habits
You treat your gear like a tool. Clean it after each cook. Scrape the griddle with a flat scraper. Wipe the grates with a cloth or brush. Empty drip trays when cool. A clean plate sears true. It saves you hours later.
Cast Iron Care
Dry cast iron fast. Heat it on the burner to drive off moisture. Rub a thin coat of oil into the surface. Heat until it smokes, then cool. Re-season when food begins to stick or when the surface looks dull.
Stainless and Chrome
Use a scrub pad and a mild detergent. Rinse well. Dry at once. Water spots and salt make pits. For grates, try the Weber 6494 brush or a brass bristle pad on stubborn spots. Polish with a soft cloth.
Gas and Charcoal Checks
Check burners and vents for clogs. Clean holes with a soft wire or toothpick. For gas, test for leaks with a soap-and-water mix. Bubbling means a leak—turn it off and fix it. For charcoal, dump ash only when fully cool. Ash buildup chokes airflow and heat.
Rust and Small Repairs
Rust hides in dark wet spots. Fight it fast. Scrub small rust with a wire brush. Wipe clean. Oil the area. For deep rust on cast iron, re-season the whole piece. Replace cracked porcelain or warped grates before they fail.
Quick Checklist
Tend the gear. Save time. Next, you’ll turn that care into menus that match the fire.
Menu and Meal Plans: From Weeknight to Feast
Plan the flow
Think like a conductor. Put slow items on first. Reserve quick hits for last. Roast bones and root veg on indirect heat. Sear steaks at the end. Use the griddle for buns, eggs, and sides that need a fast turn. You will save space and time. You will cut stress.
Timing and staging
Make a short list. Mark what rests well. Mark what needs a hot, fast finish. Set a clock. Start with long cooks. Move things to a warm zone to hold. Toast buns two minutes before service. Finish steaks in thirty seconds per side. Think of time as another form of heat.
Batch cook and hold
Batch where you can. Shuck and char corn in one run. Grill a rack of pork to finish later. Keep a low-heat zone to hold without drying. Use foil tents and warm pans. A steady 200–250°F hold zone keeps meat juicy for 30–45 minutes.
Pairings that work
Pair foods that share heat needs. Examples:
Quick menu map (four people)
Use gear that fits the job. A Weber Spirit II handles steady gas heat. A Blackstone 36-inch gives huge flat space for eggs and buns. Stage your tools. Lay out spices, tongs, and a tray for finished food. Feed a crowd with calm moves and clear timing. Now move to close the loop and own the heat.
Own the Heat
You can learn this craft. Start with small wins. Respect the fire. Care for the metal. Use the right heat for the right food. Practice the moves. Keep your tools sharp. Let taste be your guide. Tame your grill. Rule your griddle.
Cook with calm pride. Watch. Adjust. Taste. Repeat. Share what you make. Teach one friend. Stay curious. Keep learning. Live by heat and time. The work is simple. The reward is deep. Go cook. Measure. Listen to the sizzle. Respect smoke. Rest your meat. Plate with care. Invite company. Laugh. Try rubs and oils. Record notes. Build rituals.





Good piece overall. Quick question about heat zoning: I mainly cook on charcoal with Kingsford briquettes, but the Master Heat section talks a lot about burners and knobs. What’s the best way to create reliable zones on a charcoal setup for searing and a cooler side for finishing?
I have the Alpha Grillers four-piece set for tools but not sure about technique. Do I bank the coals to one side, or make a ring? Any pros/cons?
Also — should I use a cast iron pan (Lodge 10.25-inch skillet) on the cool side for indirect things?
Great question. For charcoal: bank coals to one side for a two-zone fire (direct and indirect). A ring works for rotisserie/long cooks, but for sear-then-finish the one-side bank is simplest. Using a preheated cast iron skillet on the cool side is excellent for indirect finishing or keeping food warm — it adds thermal mass and evens heat.
I do the single-side bank plus a small foil pan between coals and food to trap gentle heat. Helps with slow cooking veggies. Alpha Grillers tools make flipping/holding easier too.
Also: keep a digital probe handy when you move food to the cool side — indirect finish speeds vary, and you don’t want to overdo it.
One tiny tip: when banking coals, leave a small gap for airflow. Too tight and the coals will smother and cool off — then you lose the high-heat sear when you want it most.
If you want more sear you can also start on the direct coals, then move to the cool side on the pre-oiled skillet for carryover. Works great for thicker steaks.
Good article but felt light on actual meal plans. The Menu and Meal Plans section had ideas, but I was expecting full day plans or grocery lists. A little disappointed.
Also, recommend adding more about when to use a cast iron grill pan vs a flat griddle — I own the Lodge 10.5-inch grill pan and the reversible griddle and still can’t decide sometimes.
Oh and FYI: grapeseed oil’s smoke point is great, but it’s pricier than vegetable oil. Maybe suggest cheaper swaps for weeknight cooks?
To add: olive oil (refined) and canola are cheaper alternatives for high-heat cooks if you don’t want to splurge on grapeseed every time.
Valid points, Ben — we tried to keep the meal plans flexible but hear you on wanting full grocery lists. We’ll expand that. For pan vs griddle: use the grill pan for char marks/sear on smaller items and the flat griddle for even contact (eggs, pancakes, veggies). And yes, we can include budget oil swaps in the weeknight section.
Okay real talk — Match-Light briquettes are convenient but they smell like ‘campfire gone rogue’ to me 😂
I get the impulse for quick startups (Kingsford Match Light Instant Charcoal Briquettes 12 lb is listed), but does anyone else notice a weird aftertaste when you use them for fish or veggies?
I usually reach for lump charcoal or go gas if I want clean flavor.
Thoughts? Is it just me being picky or is Match Light actually fine if you let the flames die down?
Yep — give it 15-20 minutes after lighting and the off-flavor usually goes away. For delicate things (fish/veggies) I avoid match-light unless I’m pushing time.
Not picky — Match-Light can leave a chemical-ish smell if used too soon. The article suggests letting briquettes ash over and the initial fumes clear before cooking, or using natural lump for cleaner flavor.
Loved the griddle vs grill breakdown — finally someone says the reversible Lodge griddle actually earns its keep.
I picked up the Lodge 9.5×16.75 reversible cast iron griddle after reading this and it’s a game changer for pancakes in the morning and steaks at night.
Pro tip: heat it slowly, wipe a thin layer of La Tourangelle grapeseed oil on it while it’s warm, then let it cool. Keeps the seasoning happy.
Also, the setup section made me re-think my tool kit — I don’t need 20 spatulas, just a couple of solid pieces from the Cuisinart set.
Big fan. Would love a follow-up with more breakfast-to-dinner menus!
Random note: if you ever get sticky residue, a coarse salt scrub while it’s warm works wonders. Not fancy, just effective 🙂
Agree 100%. I use the same Lodge griddle for cast-iron pancakes and grilled cheeses. Also second the slow heat — fewer hot spots and less sticking.
So glad that worked for you, Maya — you’re describing exactly how we use the reversible griddle. We’ll add more breakfast-to-dinner menu ideas in the next update. Thanks for the tip on slow heating + grapeseed oil!
This article made me actually clean my grill 😂
Set Up for Success and Maintenance sections were the real MVPs. I have the Cuisinart 20-piece set and the Alpha Grillers pieces — both are fine but the Alpha handles thicker stuff better.
I liked the part about surface prep: warm grates + grapeseed oil = fewer pancakes stuck to the griddle (true story). Also, the Lodge pre-seasoned pans are great out of the box — just don’t ever soap them down like you’re doing dishes.
Would love a quick printable checklist for seasonal maintenance.
Checklist noted — we’ll draft a seasonal maintenance printable. Glad the tool comparison helped; good call on using the heavy-duty Alpha tools for larger cuts.
For cleaning: I run a hot burn (empty grill) for 10–15 minutes after a cook to ash it clean, then brush. Works wonders and avoids soapy mess on cast iron!
Also — don’t forget to oil wooden handles if your kit has them. Learned that the hard way, handles split after too many wet-weather cooks 😅
Great tip about wooden handles — we’ll add handle care to the maintenance checklist.