


Tame Your Grills and Griddles
You will learn to read heat. You will learn to clean, season, and cook with control. This is plain work. It makes food better. It makes you proud and steady.
Tools, Fuel, and a Little Skill

Season a New Blackstone Griddle Like a Pro: Easy Steps to Perfection
Know Your Gear
Is your grill friend or foe? Learn its moods and use them.Know what stands before you. Read the manual first. Learn whether it is gas, charcoal, or electric. Note the cook surface: cast iron, steel, or nonstick.
Find the key parts.
Test the lid and the grates. Open and close the lid. Wiggle the grate. Light a burner or a small pile of coals. Watch how heat moves. Feel where it is hot and where it is cool.
Map hot and cool zones. Slide a sheet pan across the grates. Use a meat probe or an infrared thermometer. Or rub a thin film of oil and watch where it smokes first. Mark zones with tape or a chalk line.
Learn how fuel feeds fire. Turn a knob and see how fast heat climbs. Watch for flare and smoke. When you know the parts, you stop guessing. You cook with aim. You save fuel. You avoid flare and smoke. You stay safer.

Clean Like a Pro
Dirty grates betray your food. Clean wins every time.Heat your grill or griddle after you cook.
Burn off food scraps until they carbonize.
Scrape the hot surface to knock loose bits.
Use your stiff brush or metal scraper for grill grates.
Use your flat scraper for griddles.
Heat the stuck-on mess. Scrape while the metal is hot. Make a paste of baking soda and water for heavy gunk. Rub the paste, then rinse and dry metal soon.
Avoid soaking cast iron in soap. Rinse cast iron with hot water and dry. Wipe oil into your cast iron after every cook. Use mild soap and a soft pad for stainless steel. Rinse and polish to keep shine.
Picture a burger night: heat, scrape, oil. Make cleaning a short habit, not a long chore. Keep flavor pure. Stop rust and sticky food.
Master Heat and Zones
Want crisp outsides and tender insides? Zones are your secret.Set two zones: one hot for sear, one cooler to finish.
Use direct heat to brown your food.
Use indirect heat to cook through without burning.
Preheat until the grate holds heat.
Check with a probe thermometer or the hand test.
Move food to cool zones when flare-ups climb.
Learn carryover heat.
Rest meat to let internal heat finish cooking.
Lower flames for thick cuts so the center cooks slow.
Raise flames for quick sears to lock juices.
Watch oil on griddles.
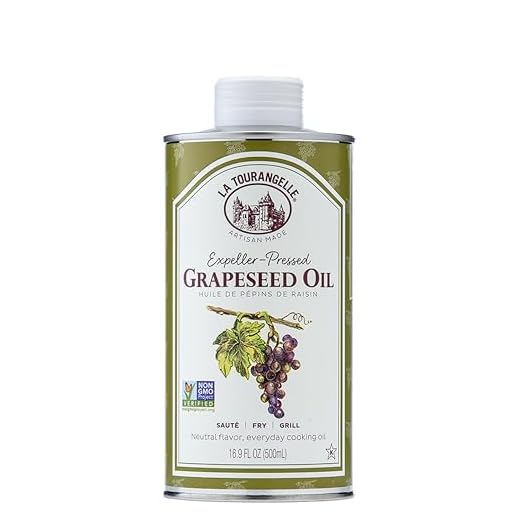
Use oil with a high smoke point.
Note oil spreads heat.
Watch steam and smoke; they tell you when to turn or lower fire.
Picture a Sunday steak.
Sear hot for two minutes.
Shift to cool side.
Finish slow.
Slice and taste the even cook.

Season and Protect
Season like a smith. It shields the metal and lifts flavor.Season well and often.
Heat the surface until it glows or the oil just smokes.
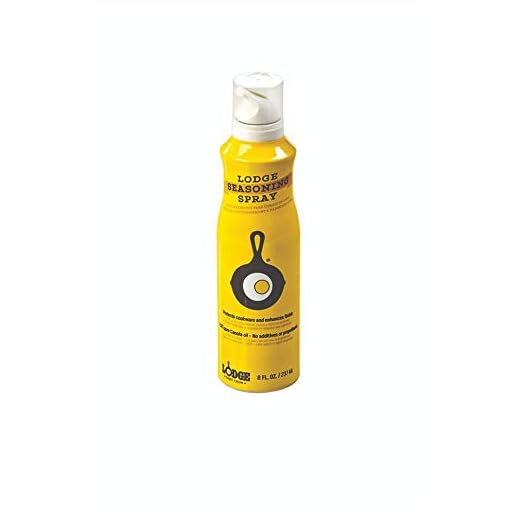
Wipe on a thin coat of oil with a high smoke point.
Heat until the oil bonds to the metal.
Repeat to build layers.
Strip the factory coat on new cast iron. Use steel wool and soap. Then season right away.
Re-season steel griddles after heavy use or after sanding.
Avoid acidic foods on bare iron. For example, hold off on tomato sauce until you have several good layers.
Fix rust: scrub with a wire brush, dry, then oil and heat until the metal darkens.
Store dry. Cover when you can.
Enjoy a well‑seasoned slab. It gives release. It keeps food clean and flavor true.
Cook with Joy and Safety
Cook bold. Stay safe. Great food comes from brave, steady hands.Plan the cook. Know times. Know temps. Pick a recipe. Gather tools.
Preheat the grill or griddle until it sings. Get even heat. Test with a drop of water.
Dry your food. Pat meat and veg with a towel. Dry surfaces sear better.
Salt at the right time. Salt steak 40 minutes before, or just before it hits the heat. Salt draws flavor.
Sear first for a crust. Then move to a cooler zone to finish. For example, sear 2 minutes per side, then slide to the cool side.
Use a probe to check doneness. Aim: 125°F rare, 135°F medium‑rare, 160°F well done. Flip once when needed.
Rest meat. Let juices settle for 5–10 minutes.
Use long tools and heat mitts. Keep your hands back. Mind wind and vents. Close vents to slow a flare.
Check gas lines before you light. Keep safety close:
Cool and clean after use. Store fuel in a safe, dry place. Cook with a calm head. Enjoy the sound, smell, and sight of food done right.

Go Tame Your Fire
You have the facts. You have the steps. Practice steady work. Clean and season. Read heat and tend the flame. Cook bold. Stand ready. Will you answer the fire now?




Great primer. Quick tech question — can these griddles be used on induction cooktops or is that a whole different beast? I’m thinking of buying one for indoor use.
Some griddles are induction-compatible if they’re made with magnetic-base stainless steel or iron. Pure aluminum griddles won’t work on induction unless they have an induction plate. Check the manufacturer’s specs — look for ‘induction ready’ or test with a magnet.
I have a cast-iron griddle on my induction hob and it works great. Just be mindful of weight and pick one that sits flat so it heats evenly.
Love this guide — finally something that treats my ancient cast-iron like a living thing 😂
I followed the ‘Master Heat and Zones’ section and set up a three-zone heat on my gas grill. It made flipping steaks way less stressful.
Question: after seasoning, how long do you usually let the griddle cool before wiping off excess oil? I always worry about leaving it too long and getting sticky residue.
Also, big shoutout for the ‘Clean Like a Pro’ tips — those metal scrapers are game changers.
If you’re lazy like me, put the griddle back on low for a minute and then wipe — works 90% of the time 😂
I do the same but finish with a quick pass of very low heat to set the seasoning — maybe 3–5 minutes. Seems to prevent the sticky finish you mentioned.
Great to hear it worked for you, David! I usually recommend letting the griddle cool for 10–15 minutes until it’s warm but not hot, then wiping with a paper towel or cloth. If it cools completely the oil can polymerize too much and get tacky. Heat helps the wipe to be cleaner.
Solid article. I appreciate the step-by-step bit about identifying parts (Know Your Gear). Makes it less intimidating for a newbie.
Quick question: for seasoning, what’s your preferred oil? I keep hearing conflicting advice — flaxseed vs canola vs lard. Any pros/cons?
Flaxseed gave me the slickest pan but I had to do thin coats and patience. If you want something easy, go canola.
Great question, Emily. Flaxseed oil polymerizes into a very hard layer but can flake if applied too thickly; it’s a bit fussy. Canola and vegetable oils are reliable and cheaper — they build up a good non-stick layer over multiple thin coatings. Lard gives a nice traditional flavor but can be less convenient for vegans/vegetarians. I usually recommend neutral oil (canola or grapeseed) for most users.
Also pro tip: no need to obsess over one ‘perfect’ oil. Consistent thin layers and heat are more important than the brand.
I use grapeseed for a neutral taste and because it has a relatively high smoke point. Been working well for years.
Some tips I tried from the guide:
– Cleaned my propane grill after a long winter (ugh) and it actually lit without drama.
– Used the paper towel + oil method for season and it looks better than before.
One thing: the guide says to avoid soap on cast iron but doesn’t say what to do if there’s stuck-on sugar from a glaze — that stuff is the devil 😂
Also, small typo under section 2 — ‘scrpaer’ instead of ‘scraper’. No big deal but thought I’d point it out 🙂
LOL sugar = the true grill boss. Burn it, cry a little, then follow the deglaze method 😅
Sugar is brutal. I let it hot and use a wooden spatula to lift most of it, then follow with a salt scrub and oil.
If it’s a sweet glaze baked on, sometimes I put the skillet back on low heat with a tiny bit of water to loosen it. Works well and avoids heavy scraping.
Good crowd-sourced advice here. Also, avoid stainless steel scrubbers on the seasoning layer — they can remove more than you want.
Thanks for the typo catch, Olivia — fixed! For stuck-on sugars, heat up the pan and deglaze with a bit of water while it’s hot, then scrape gently. If it’s really stubborn, a coarse salt scrub while warm usually does the trick.
Useful, but I felt the safety section could be stronger. I have kids and would love more specifics on securing a grilling area, how far kids should be kept, and maybe some kid-friendly duties they can do safely.
Also, a quick checklist printable would be super handy.
Thanks for the feedback, Jared. Great points — I’ll add a ‘family safety’ subsection with recommended distances (3–5 feet unless supervised), clear barrier suggestions, and a short printable checklist for safe grilling tasks kids can help with (like seasoning veggies away from the heat).
We use a rope or cone boundary and make a rule: ‘no crossing unless holding an adult hand.’ Kids can help with plating or seasoning away from the grill.
Really loved the ‘Season and Protect’ section — I’ve been doing a similar routine for cast iron for years.
For anyone trying this, my go-to: 3 thin coats of oil, each baked at 450°F for 45 minutes with a quick cool-down in between. It gives a durable layer without flaking. Also, store the griddle with a paper towel to absorb moisture.
One extra thing: if you’re in a humid climate, consider a light coat of oil every month during rainy season. Keeps the rust gremlins away.
Good call on the humidity. I forgot once and woke up to a sad little rust spot. Now I keep a microfiber cloth and a wipe-on oil handy.
Will add your timing suggestion to the guide as an optional ‘advanced seasoning’ method for readers who want a more durable finish.
Excellent practical routine, Priya — thanks for sharing the specifics. The paper towel tip is underrated and super effective.
Haha, “Tame Your Fire” — as if my grill will bow down. Still a useful read though. Laughed at the bit about using a wire brush safely.
Short and sweet: these tips helped me stop burning pancakes on the griddle.
Pancake mastery unlocked: start batter on the cooler zone and move to hot for bubbles to finish. Works every time.
Glad it made you laugh, Marcus. Fire is stubborn but respectful when treated right 😉 Pancakes are the ultimate griddle test!