
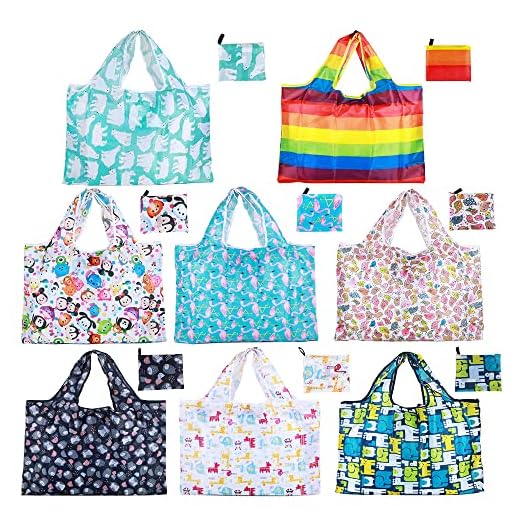
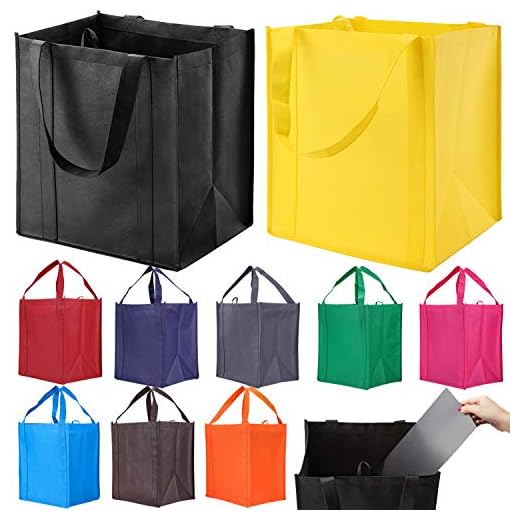
Fix and Keep Your Reusable Bags
You can fix your torn bag. Start small, use simple tools, and sew or patch holes. Millions of bags end up in landfills. Save money and cut waste. This guide gives clear steps you can do right now, easily today.
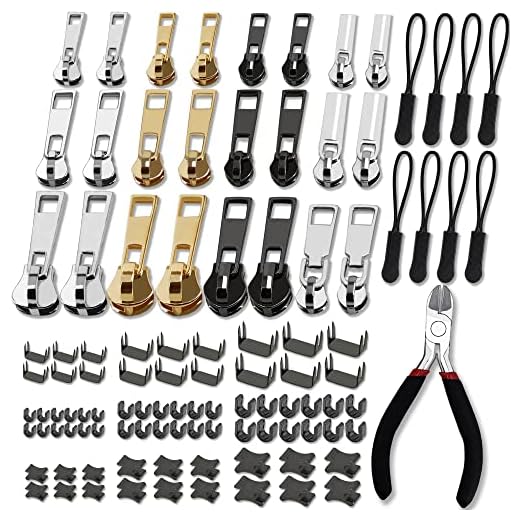
What You Need
Sew a Heavy-Duty, Leak-Proof Reusable Grocery Bag
Inspect and Decide: Know the Damage
Don’t guess. See what really failed. Small tear or fatal rip?Lay the bag flat on a clean table.
Look close at the tear. Note its size, shape, and location.
Check the seams and handles. Feel if the fabric is cut or worn thin. Spot frayed fibers. Push the edges together to check fit. Measure the gap.
Patch small holes under an inch. Stitch long rips along a seam. Reinforce a handle that tore from its base. Inspect split seams for broken stitches. Plan a patch that extends two inches past a fabric tear. Watch thin woven bags; they can unravel. Avoid heavy heat on laminated liners that can melt.
Decide if the repair must hold heavy loads or just look good. Choose stronger thread and larger patches for heavy use. Wash stained or smelly bags now. Dry fully before you repair. Take a photo to match color or size later. Keep labels for care tips. Count how many bags you will mend and set sane goals. Don’t try to save ruined liners.
Prep and Pick a Method
A poor prep ruins a fix. Want it to last? Choose well.Choose the right fix. Match the method to the damage: small holes — patch or hand stitch. Seam splits — resew on the old stitch line. Torn handles — add a backing patch and new stitches. Laminate bags — use a thin, flexible plastic patch or repair tape (example: PET tape for cooler bags).
Gather tools.
Cut a patch at least 2 inches larger than the hole on all sides. For woven bags, cut on the bias to stop fray. For layered bags, match the inner and outer layers. Pre-wash the patch fabric. Iron it flat.
Trim frayed threads. Pin or clip the edges. Test glue on a scrap first. Apply glue thin. Press firmly. Let it set.
Sew with lock stitches at each end. Use short stitches and strong thread. Double back at strain points. Reinforce handles with a backing patch that wraps under the bag. Mark your stitch line with chalk. Work in bright light. Take breaks. Pace yourself. Test the repair with a light load.

Stitch and Patch
Sew like the bag will be used tomorrow. Strong stitches win.Cut and prepare the patch. Round the corners to stop snags. Fold raw edges under if the fabric frays. Pin the patch over the tear.
Thread your needle with strong polyester thread. Tie a small knot. Start a few millimeters from the edge. Use a backstitch for strength. Keep stitches short. Sew end to end. Lock the stitch with a backstitch at corners. Trim thread.
Open old seam if needed. Align the original seam lines. Use a straight stitch with a reinforced start and finish. Stitch the handle base in a box and X pattern to spread the load. Use a ladder (invisible) stitch for thin laminated bags to pull edges tight. Heat an iron-on patch per the maker’s directions. Press with firm, even pressure. Let it cool fully. Add a second patch inside for heavy repairs.
Test the repair with a gentle tug. If it holds, move to finishing. Label the date. Wear gloves today.

Reinforce Handles and Seams
Handles fail first. Reinforce like you mean it. No weak spots.Focus on high-stress points. Handles fail first. Reinforce them every time.
Place a backing patch under the handle. Stitch through the bag and patch. Make a box and stitch an X inside. Use heavy polyester or upholstery thread. Add bar tacks at each end for extra hold.
Use a sewing machine with a denim needle for thick canvas. Hand-sew tight, dense stitches if you work by hand. When you hand-sew, keep stitches short and even.
Add rivets or metal washers for plastic or laminated handles. Drill a small hole. Set the rivet. Sand the hole edges smooth. Cover the rivet head with tape if it might snag.
Sew a second line beside worn seams. Topstitch close to the edge to lock the seam. Use a zigzag stitch on raw edges. Bind exposed edges with bias tape for long life. Add a webbing strap inside the seam for very heavy loads and attach it with a wide box stitch.
Test the handle in steps. Load light weights first. Increase only if it holds.
Finish, Test, and Maintain
Fix it right. Then keep it right. Small care equals long life.Finish with clean edges. Trim stray threads. Seal raw edges with fray check or a zigzag stitch. Press the repair flat. Look for weak spots near the fix.
Test with a slow, steady pull. Test with a loaf of bread or a handful of towels first. Then add a can of beans. Watch the stitches. If they slip, stop and redo.
Wash the bag according to its label. Use a gentle cycle. Air dry. Avoid heat that can harm liners or glue.
Keep repairs in mind when you shop. Do not overload. Note weight limits for your fixes. Mark repaired bags with a dot or tag. Keep them from heavy-duty use.
Consider replacing the bag if you mend it often. Recycle the old bag if you can. Keep a repair kit at home. Save trips. Save money. Repair small tears fast. Keep your bags in use and out of the bin. Teach your kids to mend. Share your skills.

Keep Them Going
You can extend a bag’s life. Fix small tears fast. Reinforce handles. Use the right tools. Test your repairs. Wash with care. Replace when safety fails. Repair saves money and cuts waste. Try it. Share your results and inspire others.


This article made me feel guilty about tossing bags lol. Nice mix of DIY and sensible rules.
I tried using fabric glue + a thin patch on a rip and it lasted a while, but after a few washes it peeled. Anyone else have cleaning tips for repaired bags?
I always hand wash patched bags and lay flat to dry. Machine washing ruins a lot of repairs.
Good to know — will stop tossing them in the washer. Thanks!
Wash repaired bags gently — hand wash or gentle machine cycle in a mesh laundry bag. Avoid high heat drying; air dry instead to keep patches and glue intact.
Real talk: I patched a bag that I thought was worth saving, but the seams failed on the third shopping trip. Not sure if my stitching was bad or the bag was junk. Any troubleshooting tips?
Sorry that happened, Omar. Common causes: single thread used where a double or bonded thread is better; not reinforcing the seam allowance; or the original seam tape/edge was weakened. Try stitching from the inside with a backstitch and use an extra line of topstitching over the seam.
Also check where the load concentrates — if the repair was only on the outer fabric but the seam tape inside is gone, the stress bypasses your reinforcement.
Thanks — I’ll try reinforcing from the inside next time and use a stronger thread.
Tried step 4 on the handles and wow, what a difference. I added a rectangular reinforcement patch under the handle like the guide suggested and doubled up the stitches. Handles feel brand new.
Also, pro tip: if you’re lazy like me, hot glue the patch in place before sewing to keep it from shifting 😂
Hot glue saved my sanity when sewing patches too. I use binder clips to hold thicker layers together while stitching.
Love the hot glue trick — great for keeping patches aligned while you sew. Just be careful with heat if the bag has any heat-sensitive prints.
Binder clips are a game changer. Who knew grocery bags would need so many tools lol.
I followed the guide and repaired three bags last weekend. My favorite hack: double-stitch the handles in an X-box pattern and then topstitch around the patch for extra hold.
Longer note:
This guide works for people who are comfortable with basic sewing, but for absolute beginners maybe add a glossary of terms (backstitch, topstitch, whipstitch). I spent some time looking those up and it broke my flow.
Still 5 stars from me ✨
Glad others think so. A little hand-drawn diagram would be perfect.
Fantastic — the X-box pattern is one of the best reinforcements for handles. Good call on the glossary; we’ll add a short stitch glossary for beginners.
Agree — a glossary would be super helpful. Even a tiny illustrated insert would make it easier.
I can sketch a few basic stitch diagrams if the author is open to community contributions 🙂
Super helpful guide — thanks! I never thought about reinforcing the handles before they start to fray. I tried the simple stitch-and-patch method from step 3 on a canvas bag and it held up to several grocery trips.
Quick tip: use a spare denim patch from old jeans for heavy-duty reinforcement. It adds structure and looks kinda cool 😂
Ooh denim patching sounds awesome — will try on my tote. Did you sew by hand or use a machine?
Great idea, Sarah — denim is perfect for heavy-duty bags. Glad the stitch-and-patch worked for you! If you want, share a photo of the finished bag so others can see the technique in action.
I sewed by hand (running stitch + backstitch for strength). Took longer but no machine needed.
This guide is pure gold. I teach a small community sewing club and we’ll definitely use parts of this as a quick lesson.
One small addition that might help: list of recommended tools (needle sizes, thread weights, glue types). Saves time hunting for specifics.
Fantastic to hear this will be useful for your sewing club! We’ll add a recommended tools list — needle sizes, thread types (polyester, upholstery), and adhesives for different materials.
Thanks everyone — excited to use it as a class activity!
Yes to tool list — especially needle recommendations for thicker fabrics like canvas.
I messed up a cheap nylon bag trying to patch it and ended up making a bigger tear. Not mad — it was like $1 — but wondering if the guide should emphasize when to stop and recycle instead of repair.
Good feedback, Noah. We do mention ‘Inspect and Decide’ but we can make the ‘When to stop and recycle’ signs more explicit. If the structural seams are shredded or the fabric is thin in many places, recycling is the safer option.
Yeah, some bags are past saving. If the seam tape is gone and the fabric is crumbly, better to recycle and buy a sturdier one.
Appreciate the replies. Maybe add a small checklist in the article for ‘time to recycle’ signs.
I actually enjoyed the humor in a few places — the article felt like a friend showing me how to fix stuff.
A random thought: has anyone used iron-on patches for polyester-type grocery bags? I tried once but the bag material melted a bit 😬
Yup melted a tote once. Now I just sew or use adhesive patches meant for synthetics.
Iron-on patches can be risky on synthetics — high heat can melt them. If you try it, use a pressing cloth and a lower heat setting, or stick to sewing for synthetics.
Thanks — learned the hard way, lol.
I like that you included a ‘Keep Them Going’ mindset. Sustainable and thrifty.
That said, for people who buy cheap bags constantly, maybe include a mini section on how to pick a better replacement: fabric types, seam construction, load ratings, etc.
Great suggestion, Victor — a buyer’s checklist for future-proofing would complement the repair guide well. We’ll add notes on fabrics (canvas/denim > cheap polypropylene) and look for boxed seams and reinforced handles.
Yes please! That would help me avoid impostor ‘reusable’ bags that fall apart after 3 uses.
Exactly. Save money long-term by choosing quality.
Thanks for the detailed steps. I was nervous about making the bag look worse, but the ‘Prep and Pick a Method’ section helped me choose a subtle patching style.
One small nitpick: a few of the photos could show a closer view of the stitching patterns (backstitch vs running). I had to Google the difference quickly.
Seconding the photo request. A short gif showing a backstitch would be so useful for beginners.
Good point, Olivia — we’ll consider adding closer stitch photos or a short video demo in an update. Appreciate the suggestion!
Thanks for the feedback! Even a simple diagram would do the trick.