
Stop the Drip Before It Starts
You want salads that travel. You want jars that hold. Leaks ruin meals and mood. They waste food. They make you mad. This guide fixes that.
You will learn why jars leak. You will learn how seals work. You will learn how to pack a jar for zero spills. You will learn how to test and care for the seal. You will learn quick hacks and the best jars to buy.
Seal the jar. Save your salad. Eat in peace. No leaks. No mess. Confidence on your commute and at lunch every single day.
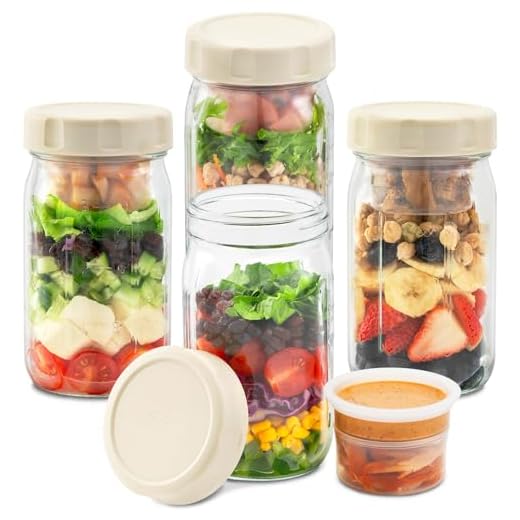

No More Soggy Salads: Top 3 Salad Containers
Why Jars Leak and How Seals Work
The forces at work
Liquids push. Air moves. You fill a jar and gravity pulls. A slosh hits the lid. Pressure builds when you shake or tip the jar. Heat changes the pressure too. Hot fill, then cool — the air inside shrinks and the lid pulls down. Cold fill, then warm — the air expands and it tries to escape. If the stopper isn’t right, the liquid finds a way out.
The parts that stop the escape
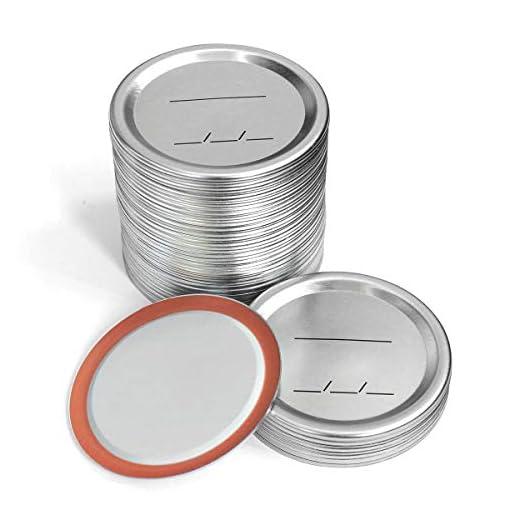
A seal is simple. It is a flat rim, a thread, and a gasket or flat lid that bears down. Two-piece Mason lids use a flat disk and a screw band. Clamp-top jars like Weck use a glass lid and a rubber gasket. Screw caps may be metal or plastic. Each type must match the jar’s rim and thread. If they don’t match, you get leaks.
Common failure points
A warped lid is quiet at first. Then it drips in your bag. A bad gasket leaks under side pressure. Wrong threads may look like they fit. But they cross-thread and gap.
How temperature and pressure change the seal
Hot liquids can create a vacuum as they cool. That can pull a lid tight or pop a poor seal. Cold liquids can trap air that expands later. In a car on a hot day, pressure can build and force liquid past a weak gasket. On a flight, cabin pressure shifts can stress a seal. Think of the jar as a small pressure vessel.
What to check when you buy or pack
Handle lids and gaskets gently. Replace parts when they age. Small fixes stop big messes.
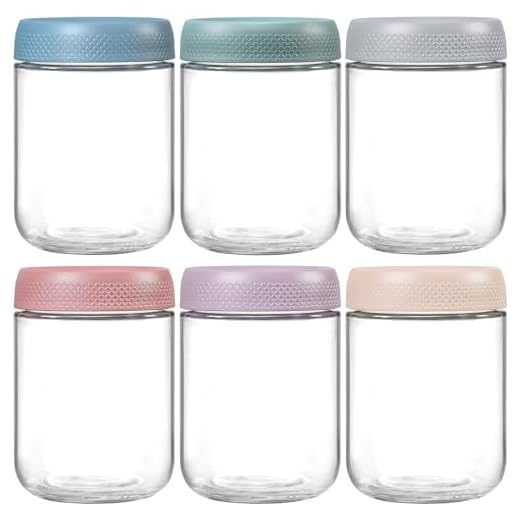
Choose a Jar That Won’t Betray You
Glass or plastic?
Pick glass if you want peace of mind. It won’t stain. It won’t hold smells. It handles acid dressings and hot fills better. It is heavier. It will break if you drop it.
Pick plastic to shave weight. It survives drops. It can stain. It can ghost odors. Check for BPA-free marks and microwave safety. For long trips, you trade weight for worry.
Wide-mouth or narrow?
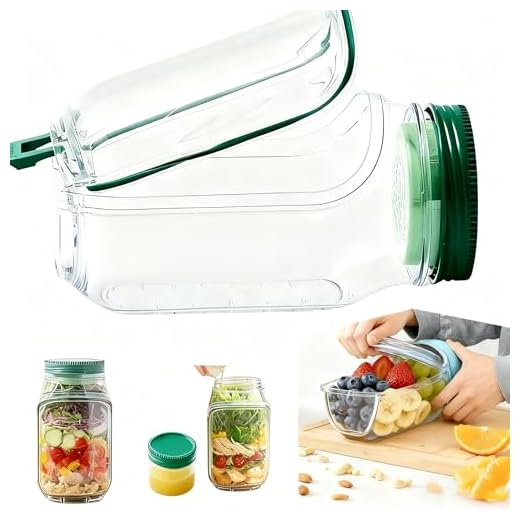
Wide-mouth jars make salads easy. You can layer greens, grains, and dressing. You can pack a fork inside. They are easier to clean. Narrow-mouth jars pour dressings well and save space in a cooler. Think of how you eat. Pack to match.
Lid types and gaskets
Know the lid styles. Screw caps are common. They are simple and cheap. Clamp tops use a rubber gasket and make a strong seal. Snap lids are quick but can fail under pressure. Vacuum lids add a pump and reduce slosh.
Gasket matters most. Soft silicone sits and seals. Rubber can harden or stain. Some metal lids use no gasket but rely on a flat mating surface. The single thing that matters more than brand is a good mating surface plus a soft gasket that hugs the rim.
Fit, threads, and specs
Read the label. Look for mouth size in mm or “wide/narrow.” Check thread pitch when you buy lids. A lid that looks right can cross-thread. Test the fit by hand. Fill the jar three-quarters and tip it. Wait five minutes. If a single drop appears, move on.
Features to demand when you shop
You carry a jar in a backpack or a tote. You want it to hold. Buy with that in mind.
Pack It Right: Layering and Filling for Zero Spills
You pack like you plan. A good pack beats luck. Follow simple orders. They stop spills. They keep crunch.
Basic layering rules
Step-by-step packs for three salads
Packing for shaking without leaks
Tilt the jar to push air out as you thread the lid. Screw until snug. Do a short test: hold jar upside down for 10 seconds over the sink. If one drop appears, re-seat the gasket. For long trips, add a silicone band around the lid or use an inner silicone stopper. For oily dressings, a small inner lid or a dedicated leak plug works best. Keep jars upright if you can. If you must shake, do it short and firm.
Test, Care, and Maintain Your Seal
You test jars before you trust them. You do a quick drill. Then you care for the parts. Small steps save big messes.
Quick seal test
Turn the jar upside down. Shake it for a minute. Watch the rim. Look for drops. Smear a paper towel around the lid. If it wets, the seal failed.
Listen when you open a jar. A soft hiss means vacuum. No hiss isn’t always bad, but it is a clue. For stubborn doubts, press the center of the lid. A good seal has a little resistance.
Try the soap test. Submerge the lid in water with a drop of dish soap. Bubbles mean air leaks. This works on metal lids and silicone stoppers.
Clean and dry every time
Rinse off oil and bits right away. Use warm water and mild soap. Scrub the gasket rim with a soft brush. Dry by hand. Air-dry where dust won’t sit on the gasket.
Never leave gaskets wet in a closed drawer. Mold hides in soggy rubber. If a gasket smells, soak it in hot, soapy water and rinse well.
Inspect and replace soft parts
Look for cracks. Look for flattening. Gaskets that look thin or misshapen will fail. Replace them when they harden or split.
Keep one spare gasket for each jar type. Keep one spare lid, too. You will thank yourself the day a seal gives out at a picnic.
Store smart and pack spares
Sometimes you store lids off jars. That keeps the rubber from squashing flat. Stack lids loosely. Let gaskets breathe.
Pack a small kit for travel:
Avoid the seal killers
High heat can warp rubber. Harsh chemicals and bleach eat gaskets. Dishwashers shorten gasket life. Don’t boil metal lids with rubber inserts unless the maker says it’s safe.
A quick real-world note: I once trusted a dishwashered gasket. It failed on a bus. Dressing everywhere. I swapped the gasket and never ran that model in the heat cycle again.
Test often. Replace early. Keep spares. Your jars will behave when you need them to.
Best Picks, Simple Hacks, and Troubleshooting Tips
You want quick wins. You want cheap fixes. Here they are. Short. Practical. Tested.
Best picks that last
Choose jars that bite down on the rim and hold it there.
Pick the lid style that fits your routine. If you pack oil or vinaigrette, favor clamps or full-gasket seals over plain two-piece canning lids.
Simple hacks you can do at home
These cost little and save big messes.
Try one hack at a time. See what works for your jars and dressing.
Quick fixes on the trail
You need fixes that take seconds.
I once rode a bike 10 miles with a jar of dressing. A rubber band and a spare cup saved the jacket.
Troubleshooting flow
No leak — you’re set. Shake and go.Small leak — tighten, add thread tape, or use silicone grease.Steady drip — replace the gasket or move dressing to a smaller container.Horror spill — open, absorb with towel, swap to a spare jar, replace parts before next trip.
Pro tips for transport
Use hacks when you must. Replace worn parts when you can. Ready for the last step?
Seal It and Go
You can stop spills. You can pack smart. Choose good jars. Pack with order. Test and care for seals. Small steps give big peace.
Your salad survives the trip. Trust your hands. Trust the seal. Try one jar. Watch the calm it brings. Share this habit. Keep salads safe. Go pack now. Fix lids tight. Check gaskets. Replace worn rings. Use weight smartly. Leave air space. Tilt no. Shake no. Eat on time. Enjoy clean lunches.


Long rant incoming but: I used to bring mason jars to work and one time a coworker put my salad jar upside down in the communal fridge (WHY). Of course it leaked. Learned the hard way to: 1) use silicone gaskets, 2) pick jars without rusted lids, and 3) take the ‘test your seal’ advice seriously.
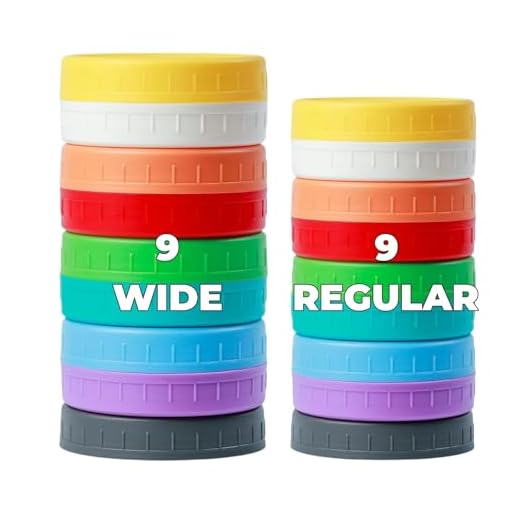
Also, Bedgeta 18-Pack Wide and Regular Mason Lids are lifesavers if you’re replacing old rusty lids in bulk.
Pro tip: keep a spare jar in your locker so you can swap if one gets dinged.