
Introduction — Master Your Microwave
You will learn to use your microwave fast. It saves time and cuts waste. Some microwaves can spark at metal. You will learn safe tricks, smart settings, plate care, tests, and quick recipes to cook like a pro right now.
Requirements — What You Need
Mastering the Microwave: Discover Its Real Secrets
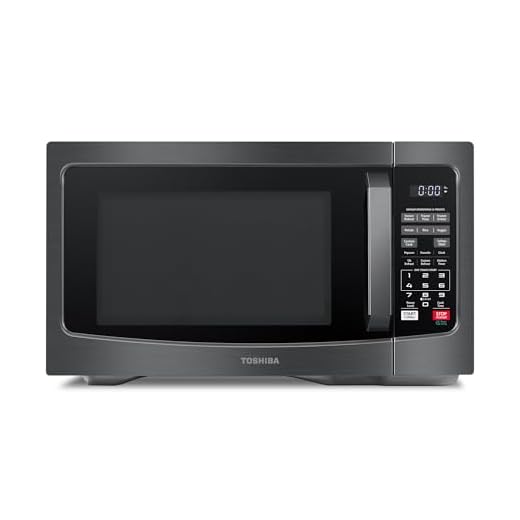
Step 1 — Know Your Microwave Inside Out
What wattage hides — know it or waste meals.Read your manual. Find the watt rating. Note it on a sticker and keep it by the unit.
Open the door. Inspect the cavity. Check the turntable. Test it with a cup of water. Run one minute. Watch if it spins.
Locate the control panel. Learn Power Level, Timer, and Defrost keys. Try Sensor Cook if you have it.
Find vents and door seals. Spot cracks, rust, or loose hinges. Check child lock and auto shutoff.
Write down the wattage and a few quirks. Example: “1000W — popcorn 2:00, plate wobbles.” Log date and result. Call a tech if the turntable won’t spin or if you see damage.
Clean as the manual directs. Follow care tips to keep safety features working.
Step 2 — Set Up a Safe Space
Want fewer fires and more peace? Place and plug right.Place the microwave on a flat, firm surface. Leave at least 2 inches behind and 2 inches at the sides for vents. Keep it away from the sink and the stove.
Plug it directly into a grounded wall outlet. Avoid extension cords. Check the cord for frays before use.
Do not run the oven empty. Do not put metal or sealed foil inside. Do not heat sealed jars or whole eggs in the shell.
Heat new foods in short bursts. Stir and rotate between bursts. Example: soup 30 s, stir, 30 s more. Use a probe thermometer for thick stews. Cover splatter with a vented lid or a paper towel. Lift the cover away from you to let steam escape.
Teach kids how to use it. Use the child lock if needed. Unplug before cleaning or repair. Clean spills fast; acid foods can pit metal.

Step 3 — Cook Smarter, Not Harder
Short bursts, smart stirs — can small moves save a meal?Use power levels for control. Set high power for water and boiling. Set low power for dense food like casseroles and roasts.
Do not trust time alone. Stir, flip, and shift food. Stir sauces on low to avoid hot spots. Try: soup 30 s, stir, 30 s more.
Cover to keep moisture. Leave a vent. Use a plate or a microwave‑safe lid. Reheat in short bursts. Let food rest. Let carryover heat finish the job.
Add a splash of water to rice and pasta before heating to restore steam. Defrost by weight if your unit allows. Check cold spots with a probe thermometer.
Heat proteins to safe temps:
Watch for superheated water. Test with a wooden stick before you touch. Wrap buns in a damp cloth and use low power. Melt butter or chocolate in short bursts and stir often. Keep plates cool and rotate more.
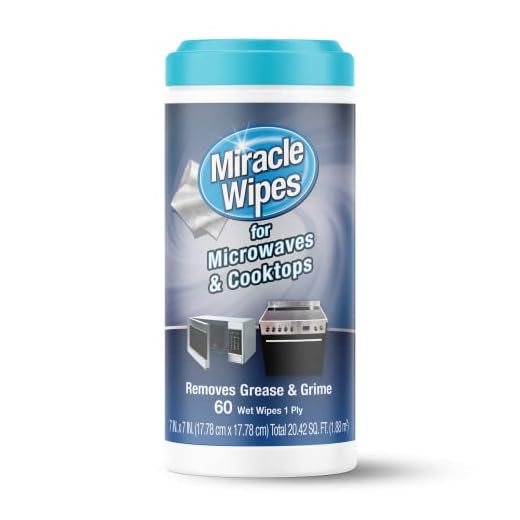
Step 4 — Clean and Maintain Like a Pro
Clean like a pro. Small care extends its life.Clean often. Wipe spills right away. Use a damp cloth and mild soap. Steam-clean with water and lemon. Heat two minutes, let sit one, then wipe. Remove the turntable and wash it. Dry parts before reuse. Avoid harsh pads; they scratch.
Check seals and the door latch. Get service if the door sticks. Replace worn parts per the manual. Keep the vent free of dust and grease. Test the magnetron if heating falls off. Call a pro for electrical faults.
Clean the outer case and control panel gently. Use a cotton swab for crevices. Avoid submerging the unit or spraying water into vents. Keep a maintenance log and store the manual and receipts. Replace carbon filters and clean coils annually.
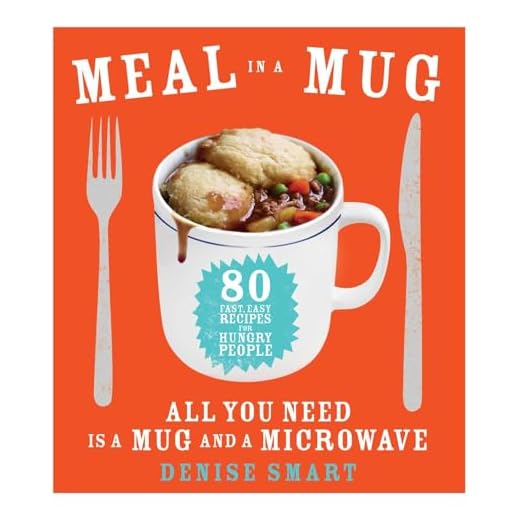
Step 5 — Quick Wins and Tiny Recipes
Tiny tricks that make dinner fast and tasty.
Step 6 — Troubleshoot and Know When to Call a Pro
When to fix, when to buy — stop guessing.Stop. If it smells odd, unplug and inspect. If you see sparks or arcing, stop now. Metal or torn foil will spark. Rattles or loud noise mean service.
Conclusion — Your New Microwave Skills
Use simple rules. Read the manual. Test and clean. Use power levels and short bursts. Stir and rest food. Stay safe. Call a pro if unsure. Try these steps today. Tell us how it goes. Share your wins and learn.


Troubleshooting section was solid but could use more on weird smells.
I once had a plastic smell that wouldn’t go away — turned out to be a cracked interior coating. Took months to air out and eventually replaced the unit. 😒
Maybe add a checklist: unplug, remove turntable, inspect interior, document photos for warranty, call repair if smell persists > 48 hours.
Photos are such a good tip. Saved me time with a repair shop once — they diagnosed faster when I showed pics.
Excellent real-world example, Noah. We’ll add that checklist to Step 6 and a note about documenting for warranty claims.
Really liked the cleaning section. That lemon + water steam trick is a keeper.
Quick question: How often should I descale or check the turntable motor? My microwave’s a few years old and sometimes the rotation gets jerky.
Also, the troubleshooting section could use a tiny flowchart for DIY checks vs when to call a pro — I feel like many of us try to fix things forever and then call someone when it’s too late.
Tip: keep a small box of baking soda near the microwave for smells. Replace monthly if you use the microwave a lot.
I fixed a noisy motor once by realigning the ring — surprisingly easy. But if it smells like burned electronics, unplug and call a pro ASAP.
Great suggestions, Mia. We’ll add recommended intervals for checks (every 6-12 months for light use) and a simple troubleshooting flowchart to Step 6.
If the turntable is jerky, try removing and cleaning the roller ring and underside of the plate — crumbs can jam it. If it still stutters, time to call a tech.
Thanks for the tiny recipes section — here’s a super-basic healthy microwave breakfast I improvised and it works every time:
1) Egg + cottage cheese in a microwave-safe bowl, whisk.
2) Microwave 45s at 70% power, stir, then 20-30s more until almost set.
3) Add spinach and a sprinkle of cheese, let sit 1 min to finish cooking.
Super quick, low fuss, and clean-up is a breeze. Feel free to include it in the Quick Wins!
Yum. I might try tofu instead of cottage cheese for a dairy-free version.
Trying this tomorrow morning. Thanks for sharing the exact timings — lifesaver 🙂
That sounds delish and healthy. I add salsa on top for a flavor kick!
Love this — thanks Ava! We’ll add your recipe to the Quick Wins with a credit.
Nice walkthrough! The ‘Set Up a Safe Space’ step is underrated.
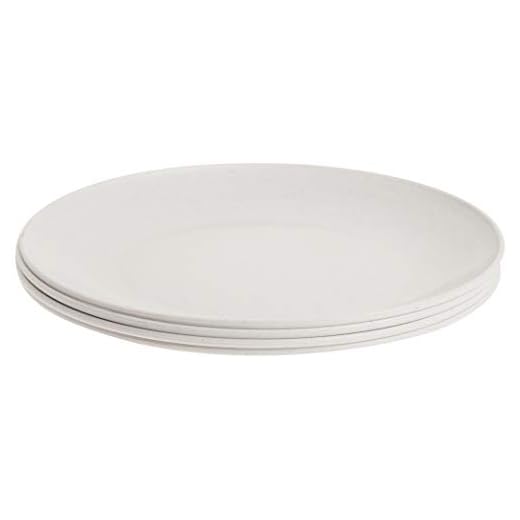
Question: is glass always better than plastic for reheating? I read that some plastics leach when heated.
Also: whoever invented microwave-safe lids deserves a medal. They cut splat cleanup in half.
Yep — look for microwave-safe icons. If in doubt, transfer to a bowl. Also avoid single-use takeaway plastics; they weren’t designed for reheating.
Glass and ceramic labeled microwave-safe are generally better for hot foods. Many plastics are microwave-safe but check the symbol. Avoid heating fatty foods in questionable plastics.
This made me actually want to read my microwave manual (wild).
I loved the troubleshooting step where you list smell, sparks, and weird noises as red flags. Saved that screenshot.
Also: how about a tiny glossary for terms like inverter, magnetron, turntable motor? Not everyone knows what those are.
Great idea — we’ll add a short glossary in the conclusion and link terms inline where they first appear.
Glossary would be awesome. I had no clue what a magnetron was until my microwave died and I googled frantically 😂
This guide made me rethink my leftover pizza routine. Step 3 + Step 5 = life changing.
I used to blast slices for 90 seconds and end up with rubbery cheese. Reheating on a plate with a cup of water? Game changer.
Anyone else tried the parchment trick? I haven’t but sounds dreamy.
Yes — adding a cup of water helps reduce hot spots and sogginess. Parchment can help prevent sticking, but avoid paper with metallic finishes.
Parchment works great for sandwiches! Also, for pizza, heat at 50% power for 60-90s, then a quick crisp in a toaster oven if you want the crust crunchy.
Love the clear steps in the intro — “Master Your Microwave” actually made me feel like I could be less scared of it 😂
Step 1 was super helpful: I had no idea my microwave had a simmer setting (who knew?).
I especially appreciated the bit about reading the manual — that tiny font is guilty of hiding so many gems.
One small thing: could you add a quick checklist for what NOT to put in there? Metal tinfoil + panic = my last Sunday.
Totally — the panic is real. Also pro tip: if you accidentally nuke tinfoil, open windows and don’t breathe the smoke for too long 😅
Oof been there. I keep a sticky note on my microwave door now with 3 banned items: foil, whole eggs, and takeaway containers with metal handles.
Thanks, Emma — great call. We’ll add a short ‘Do Not Microwaves’ checklist to the Step 1 and Safe Space sections. Glad the manual reminder helped!
I made the 2-minute mug cake from the Quick Wins section and omg — perfect every time. 😋
Love how the guide balances safety and fun recipes. The tiny recipes made me feel like a culinary wizard on busy weeknights.
One small nitpick: maybe include calories/time estimates for recipes? Some of them are snack traps lol.
I can share a few low-cal mug recipes if you want — got a few healthy ones that actually taste good.
Yes please to calories — or at least rough serving sizes. That mug cake is dangerously addictive.
Haha I ate a mug cake for dinner once, no regrets. Maybe add a savory microwave meal roundup next?
So glad the mug cake worked for you! We’ll consider adding basic time/calorie notes for the recipes in the next update.
Love the idea of a savory roundup. Microwave scrambled eggs with cottage cheese = breakfast win.
Good guide but I think you glossed over metal and microwaves a bit too lightly.
Like, it’s not just foil — some travel mugs have metal seams and people get zaps. A clear ‘metal-themed’ mini-section would help.
Also a reminder about covering food (to avoid explosions) vs covering too tightly (steam build-up) would be sweet.
Thanks, Liam. We’ll expand Step 2 with a dedicated metal-and-metallics subsection and clarify lid/cover guidelines to avoid steam traps.
Agree — I learned the hard way with a metal-rimmed plate. Not fun. Better to be explicit about travel mugs and plates with metallic trim.
Also watch out for twisty metal handles on takeaway containers — they can arc unexpectedly.