


Cook Fast. Cook Safe.
You can cook hot meals fast and safe. Follow six clear steps. Learn your cooker, prep, fill, set time and pressure, release, finish, and clean. Move with calm. Cook with speed and steady confidence every time. You will feel calm.
What You Need

3 Instant Pot Recipes That Will Change Your Life — Beginner-Friendly
Know Your Cooker
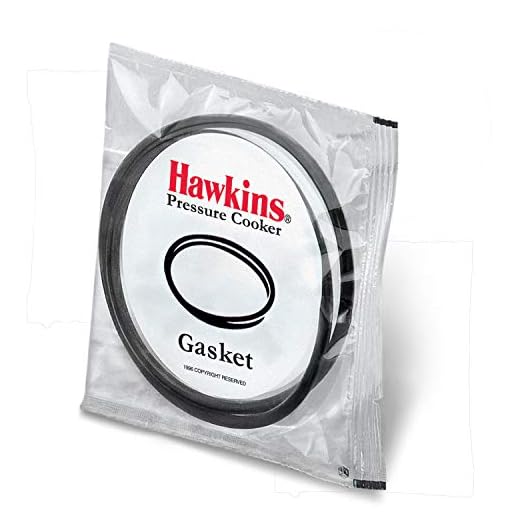
Is it electric or stove-top? Know this and you win.Read the manual first. Check the seal ring for tears or hard spots. Replace it if it looks worn.
Learn the valves and the buttons. Note which vent is for quick release and which is for natural release. Note the max fill line and the pot size. Know your cooker’s pressure settings: low and high.
Test the vent once with water. Fill with 2 cups of water and follow the manual. If steam flows as expected, you are ready. Know your tool and you cook safe and fast.
Prep Like a Pro
Want faster meals? Good prep beats long cooks.Cut food to even sizes. Cut potatoes to 1-inch cubes. Cut carrots to the same size.
Trim fat and skin that make foam. Trim pork fat and chicken skin. Stop excess froth.
Salt and season early. Salt beans or greens before cooking. Build flavor now.
Brown meat where you can. Brown in batches for color and depth.
Deglaze the pot after browning to save flavor. Add ½ cup stock or wine and scrape the fond.
Layer foods by cook time. Put long-cook items on the bottom. Add quick veg on top.
Measure liquid. Use the recipe or the manual minimum.
Prep saves time at the stove and in the pot.

Fill and Seal Right
Fill it wrong and you pay for it. Follow the marks.Never overfill your cooker. Follow the max-fill rules: two-thirds for most foods; half for beans and grains.
Add the right liquid for steam. Use the recipe or your manual minimum (often 1 cup). For soup or stew add more.
Put foamy foods in a mesh bag or add a teaspoon of oil. Think split peas, dried beans, or porridge.
Check the seal ring for cracks and clean it. Replace it if it is sticky or cracked.
Close the lid until it locks. Set the vent to Sealing.
Take these small steps to prevent big messes.
Use Time and Pressure Wisely
Want tender meat in minutes? Pressure is your short cut.Pick the right pressure level. High gives fast, deep cooks. Low is gentle for fish and veg.
Reduce time for small cuts. For example, cook small chicken thighs 8–12 minutes on high instead of 20–25. Trim roast into chunks to cut minutes.
Start timing once your cooker reaches full pressure. Watch the indicator or wait for the beep.
Adjust for altitude. Add a few minutes at high elevation or follow your manual’s chart.
Keep notes next to your cooker. Jot pressure, time, and results. Learn what your pot does.

Release Pressure Safely
Don’t rush the steam. Your hands and face matter.Decide your release method before you start. Pick one and plan around it.
Choose natural release to keep meat juices. Let the pressure fall on its own for 10–20 minutes. For example, let a pork shoulder rest until the float drops.
Choose quick release to stop cooking fast. Hold a towel over the vent and use a long tool to flip the valve. Stand back. Expect hot steam and sprays.
Wait for the float to drop before you open the lid. Open the lid away from you. Tilt the pot so steam moves away. Stir gently to check doneness.
Respect the steam. It will save your skin and your food.

Finish, Serve, and Clean
A fast meal must end clean. You will thank yourself later.
Ready, Set, Eat
You can make fast, safe, tasty meals. Follow each step. Trust your cooker. Cook with calm. Try it tonight. Share photos, tips. Tell us how it went.




LOL the section “Prep Like a Pro” is basically an intro to chopping onions without crying — 10/10.
Seriously though, the timing chart was my favorite bit. I didn’t realize beans could be done that fast (pressure cooker magic). Also, shoutout to the “fill lines” reminder — I once overfilled mine with soup and learned the hard way. 😅
Couple things people always ask me:
– Can you stack foods in a pressure cooker? (yes, but watch density and timing)
– Veggies first or meat first? (depends — meat usually benefits from sear first but you can do layered steaming)
Would LOVE to see a tiny quick-reference card for “meat vs veg timing” that we can print and stick on the fridge.
Printables are clutch. I keep one taped to the cabinet. Helps with those midnight ‘what was that time for chickpeas?’ moments.
Yep, beans are borderline witchcraft in a pressure cooker. Also, if you’re stacking, put root veg on the bottom and quicker-cooking things on top.
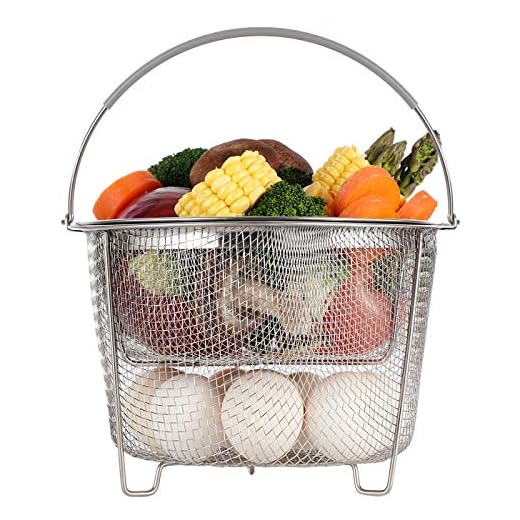
I stack but use a metal steamer basket — makes the layers easier to remove. Also saves on cleanup!
Great suggestions, Jon. A fridge-ready quick reference card is a neat idea — we’ll create a printable one with common cook times and fill guidelines. Regarding stacking: use a trivet or basket and stagger dense items to avoid undercooking.
Careful with thin-skinned veggies like zucchini when stacking — they can turn to mush fast. Trust me, learned that the sad way.
This guide is awesome — finally something that doesn’t assume everyone knows their specific model by heart.
I especially liked the “Know Your Cooker” section. Took me a while to realize my gasket needed replacing (whoops). The step-by-step on sealing and releasing pressure was super clear — I did a pot roast last night and it was fall-apart tender in 45 mins. 😋
Only tiny gripe: would love a quick troubleshooting checklist for “won’t come to pressure” or “steam keeps escaping” — screenshots would be sweet. Otherwise, solid job, thanks!
Thanks, Mark — great tip about a troubleshooting checklist. We’ll add a short section in the next update covering common causes for not reaching pressure (lid not sealed, valve jammed, insufficient liquid, etc.) and what to inspect first.
Yesss gasket checks!! I keep an extra on hand. Another quick fix: make sure the float valve isn’t dirty — mine got food gunked and wouldn’t seal.
Agree with Mark — a quick diagnostics list would save so much time. Also, check your gasket for tiny cracks; mine looked fine until I swapped it and bam, no more leaks.
I tried the “Release Pressure Safely” steps and they helped a lot. I was always paranoid about the steam blast. The gradual release method is my new best friend.
One question — for recipes that call for browning after pressure (step 6), how long can you keep food in the inner pot before it’s not great for finishing? I sometimes pressure-cook, then walk away for 10–20 mins. Is that bad?
If you walk away 20 mins, expect slightly drier edges. Pro tip: toss a little butter or sauce in before browning — it perks things up.
Good question, Lily. Ideally, finish and brown within 5–10 minutes after pressure cooking for best texture. If you need to wait longer, spread food onto a tray or use the warm setting briefly (careful not to overcook). For meats, resting 5–10 minutes helps juices redistribute.
This guide is very thorough, thank you. A few constructive notes:
1) The language around “fill and seal right” could add a line about leaving room for foamy foods (rice/beans) so you don’t get a messy vent.
2) The images are helpful, but maybe a short vid showing a safe quick-release vs natural release would clear up confusion for newbies.
Also — tiny typo on the materials list (you wrote “stianless steel” instead of stainless). No biggie but noticed it while sipping tea. 😉
I second the video idea — seeing is believing when it comes to steam. Also, foam = instant heart attack if you don’t leave room.
Thanks, Aisha — we appreciate the typo report and practical suggestions. We’ll add a short video demo for release methods and include a warning about foamy foods with recommended max fill percentages.
Noticed that typo too, haha. Nothing wrong with tea + proofreading combo.
Good catch! The foamy foods note saved my counter from a geyser once. Also, rinse rice to reduce foam.
Short and sweet: followed the guide, made chili in under an hour, guests impressed. Kudos!
One tiny nit: the guide recommends some pressure settings but doesn’t list altitudes. I live ~2,000 ft up and had to tweak times a bit.
Glad the chili was a hit, Tom! You’re right about altitude — we’ll add an altitude adjustment note (generally increase cook time a bit above 1,000–2,000 ft; best to consult your cooker’s manual for specifics).
Altitude tweaks are real — I add 5-10% time for every 2,000 ft. Works well for me.